
Oct 29th 2017
Volkswagen Golf GTI MK5 and MK6 Front Strut Brace Installation Review
Looking into this matter, we researched why so many past customers who purchased the MK5/MK6 GTI Golf strut brace continued to say it does not fit. We looked at VW forums, social media post and read nothing but fitment issues, and those who said it worked for them did not post DYI.
Many VW MK5/MK6 users were left wondering.
Lucky for our team, the crew at Horsepower Industries in Fairfield California, had a front brace available for us to test. (UR-TW2-1362).
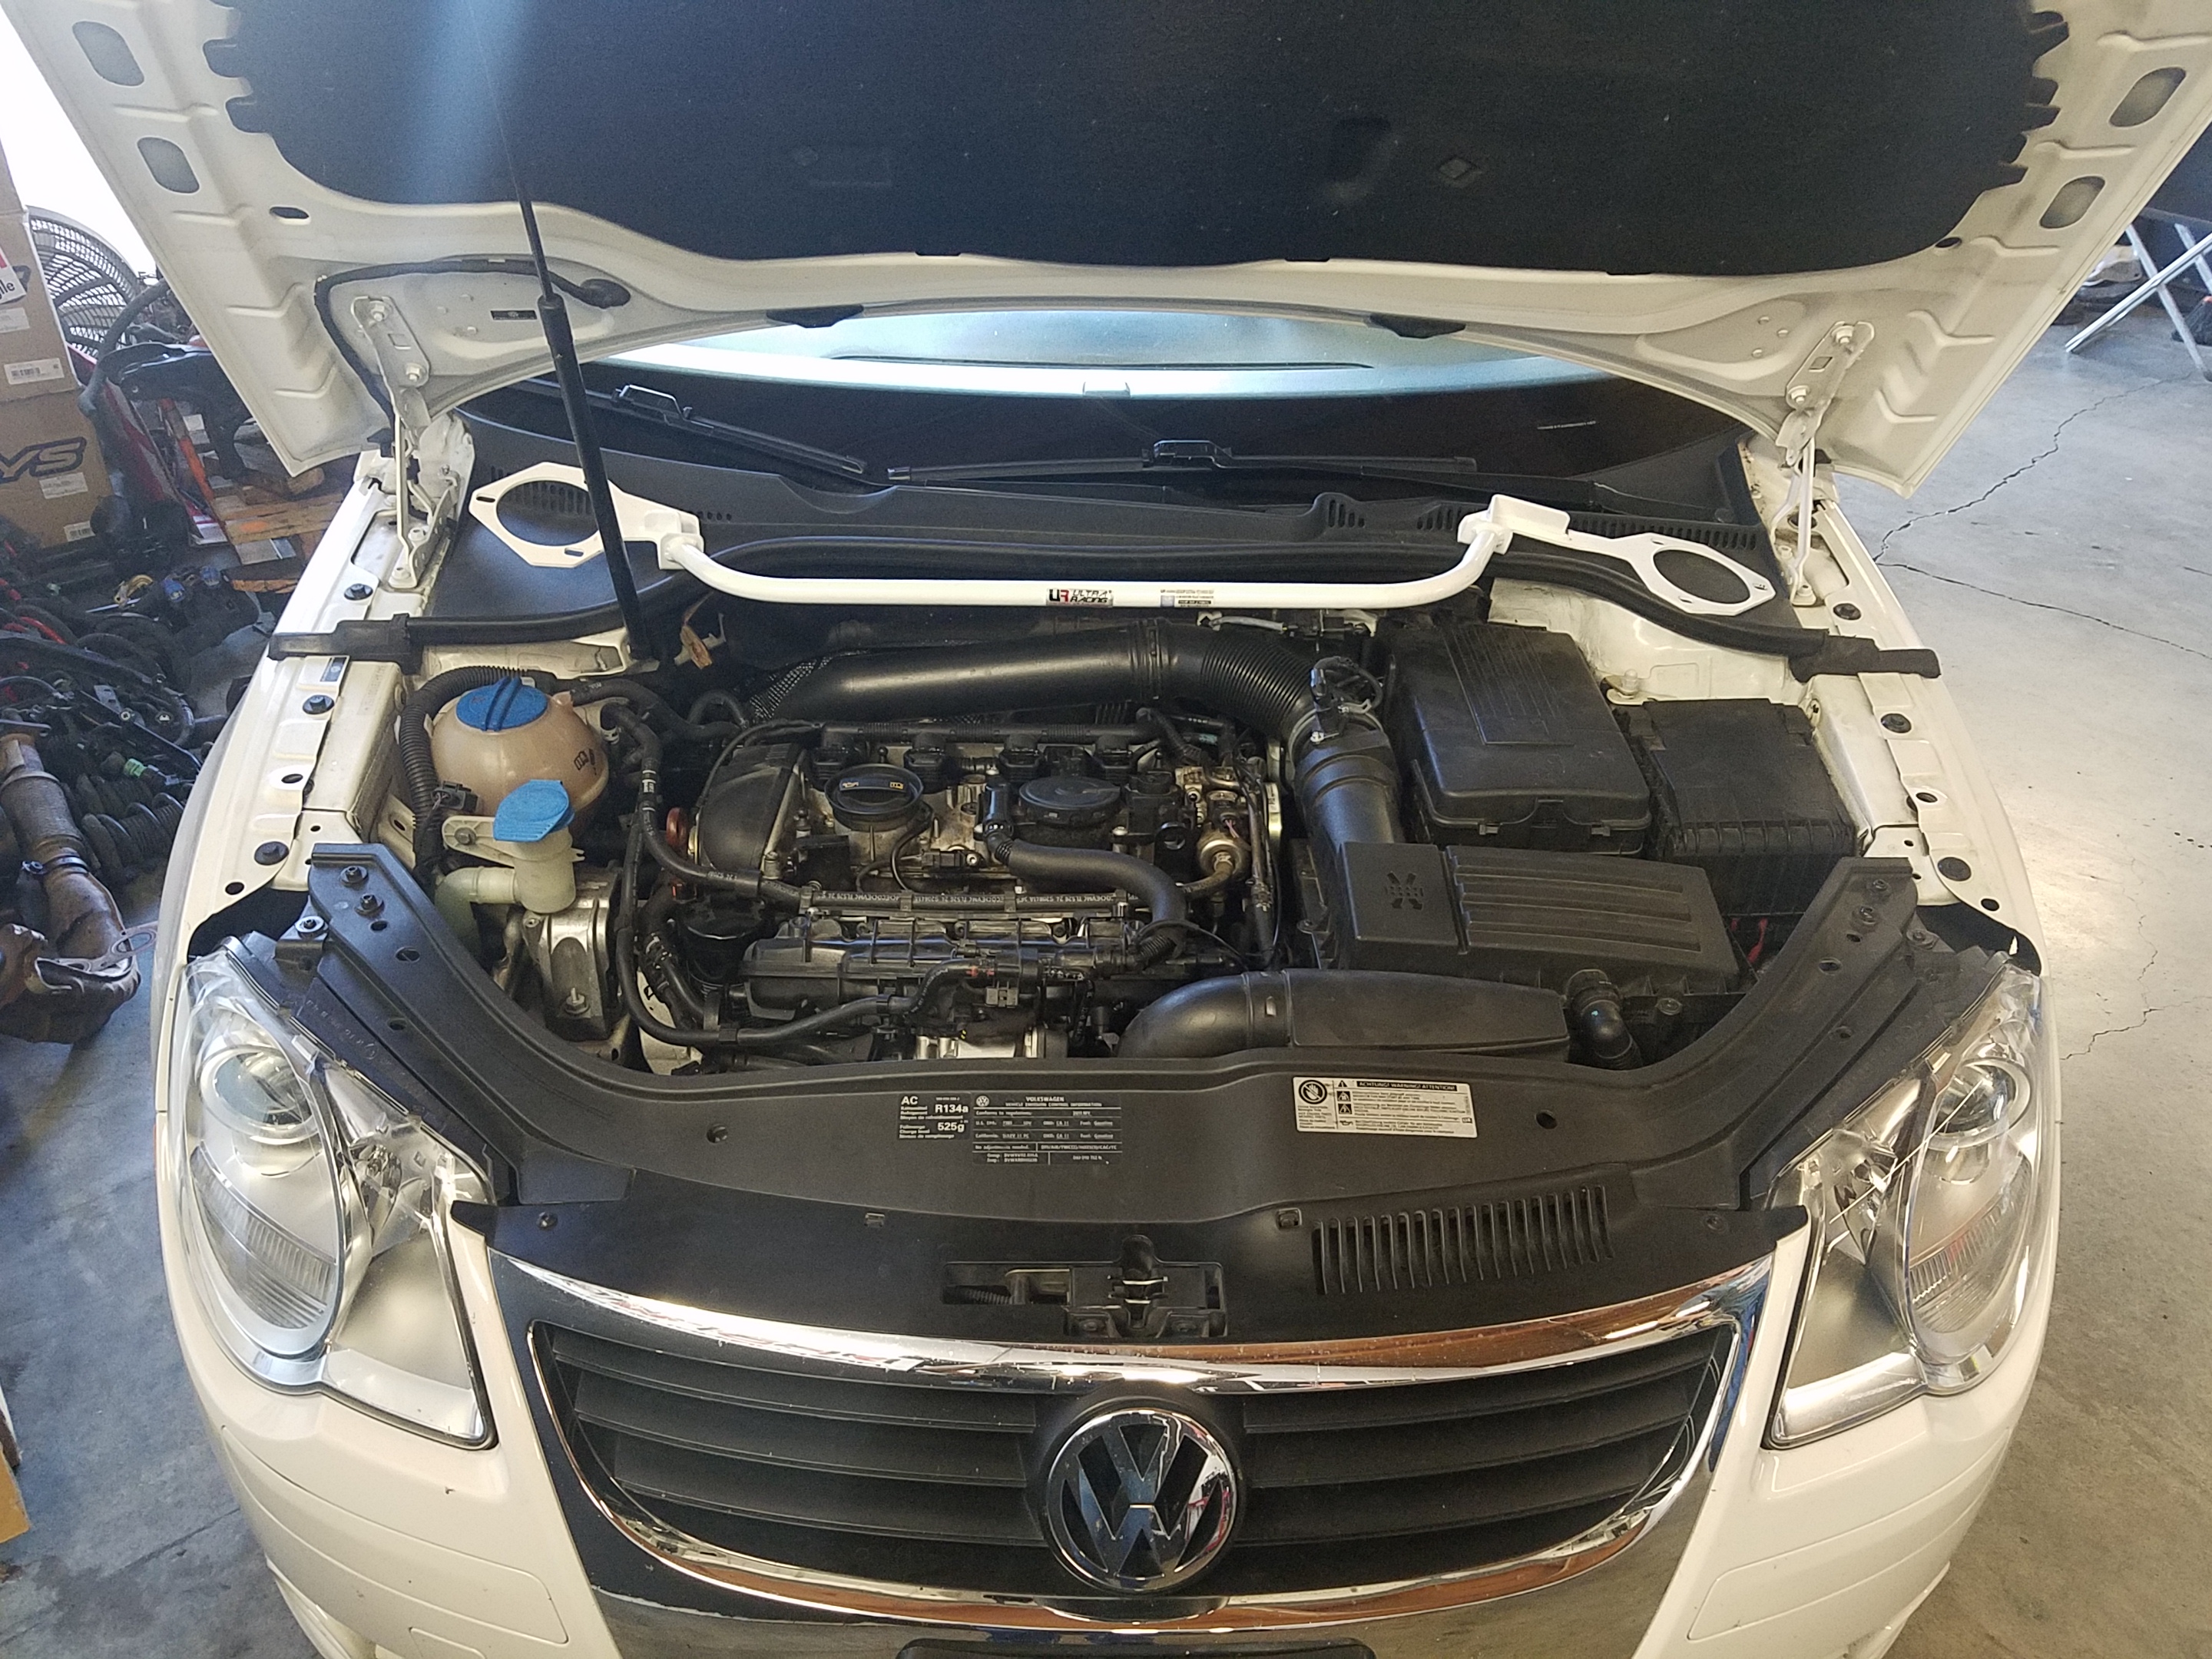
We got lucky to find a test subject, a 2010 EOS MK5, basically the same platform as a Golf, but in a convertible version.
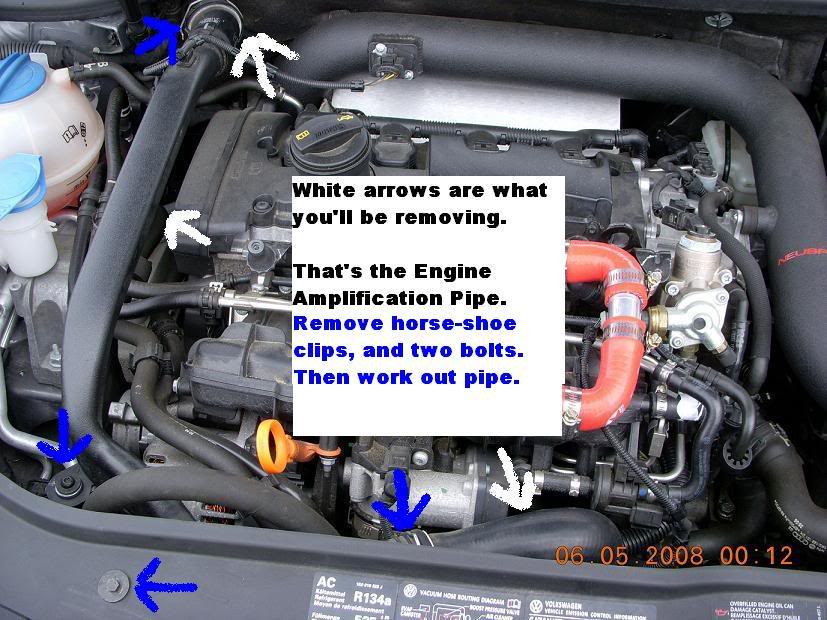
We tried to take as many picture of the process so that other who visit us can see what was done. For some GTI owner, our US spec turbos come with a pipe called a Noise Pipe. What this noise pipe does is simply enhance the turbo spool sound into the cab, from what we are told, "it just help you enjoy the sound of the turbo inside the car.", ahhh OK VW, why?
The 2010 EOS MK5 does not come with this so called noise pipe, which makes it easy for the installation.
Here we go.
STEP 1 - REMOVE THE COWL PLASTIC, simple right? Well we quickly found that the wiper arms must be removed to access the cowl plastic, also remove the weather strip.
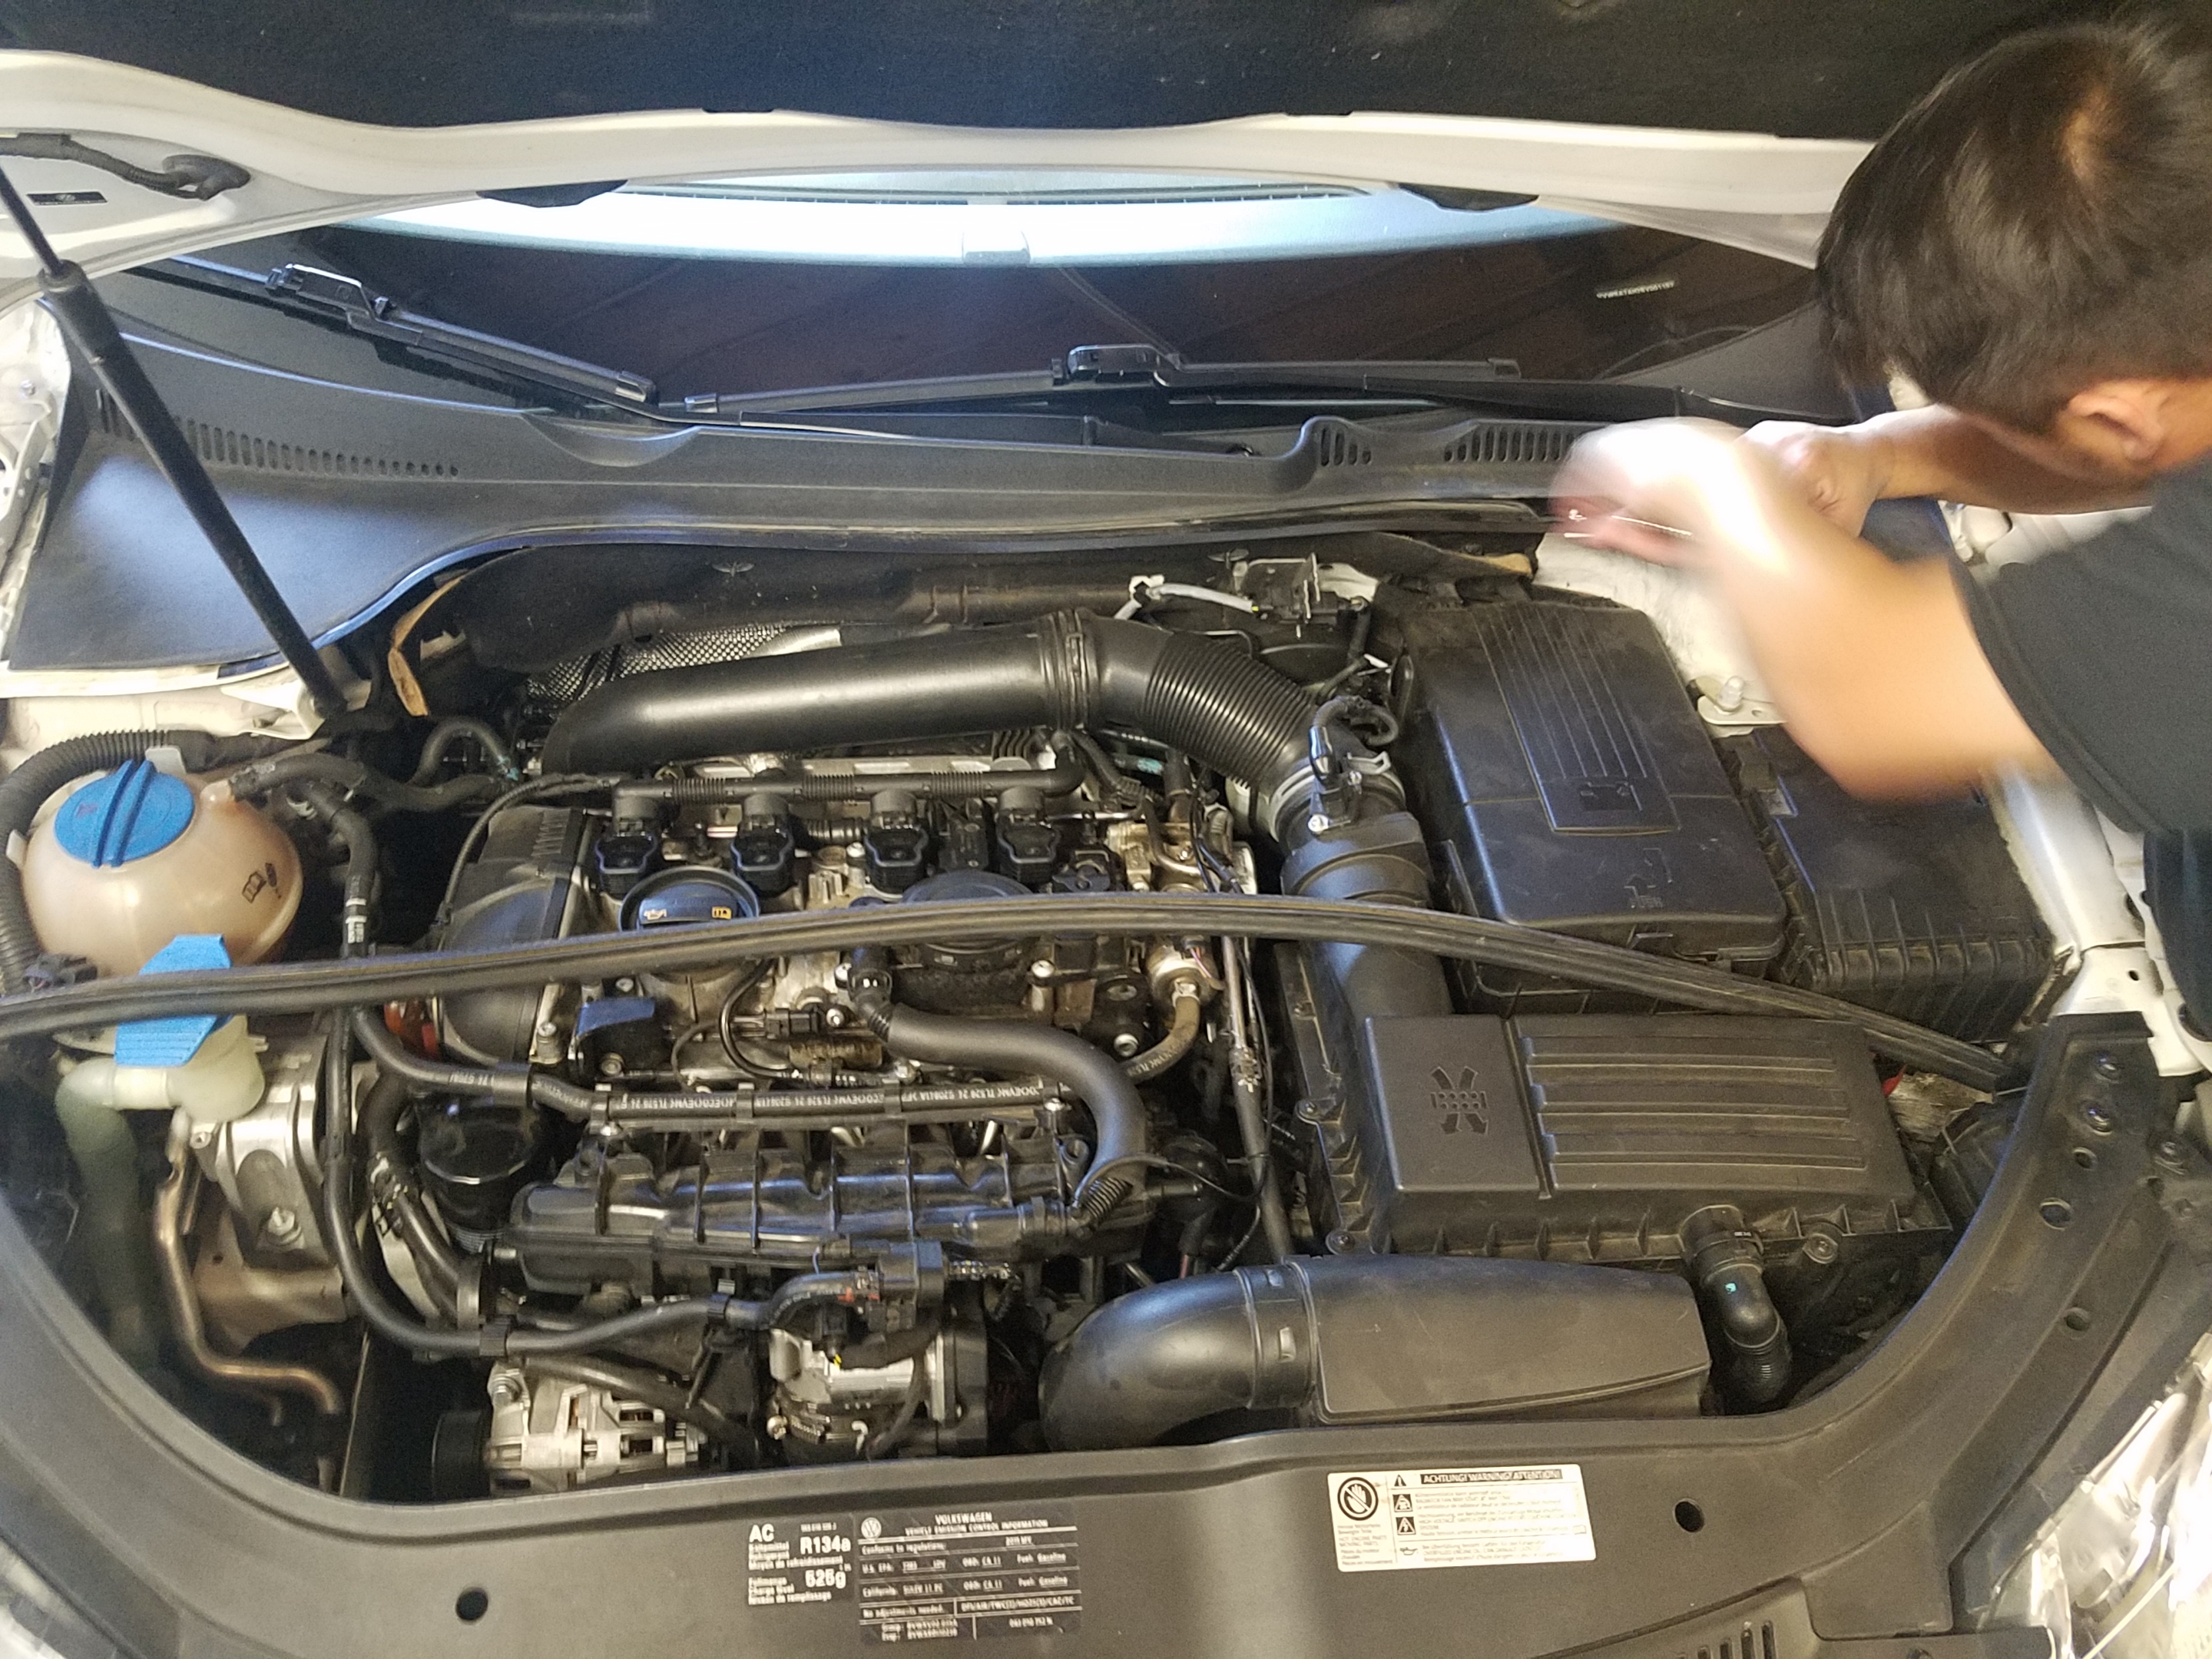
Once the cowl is removed, you will have a cross brace that acts as the firewalls support beam. That has 1 nuts and 1 bolt, also look for the pin hooks behind the firewall. It holds the entire wire harness, un-hook that and firewall brace will come off.
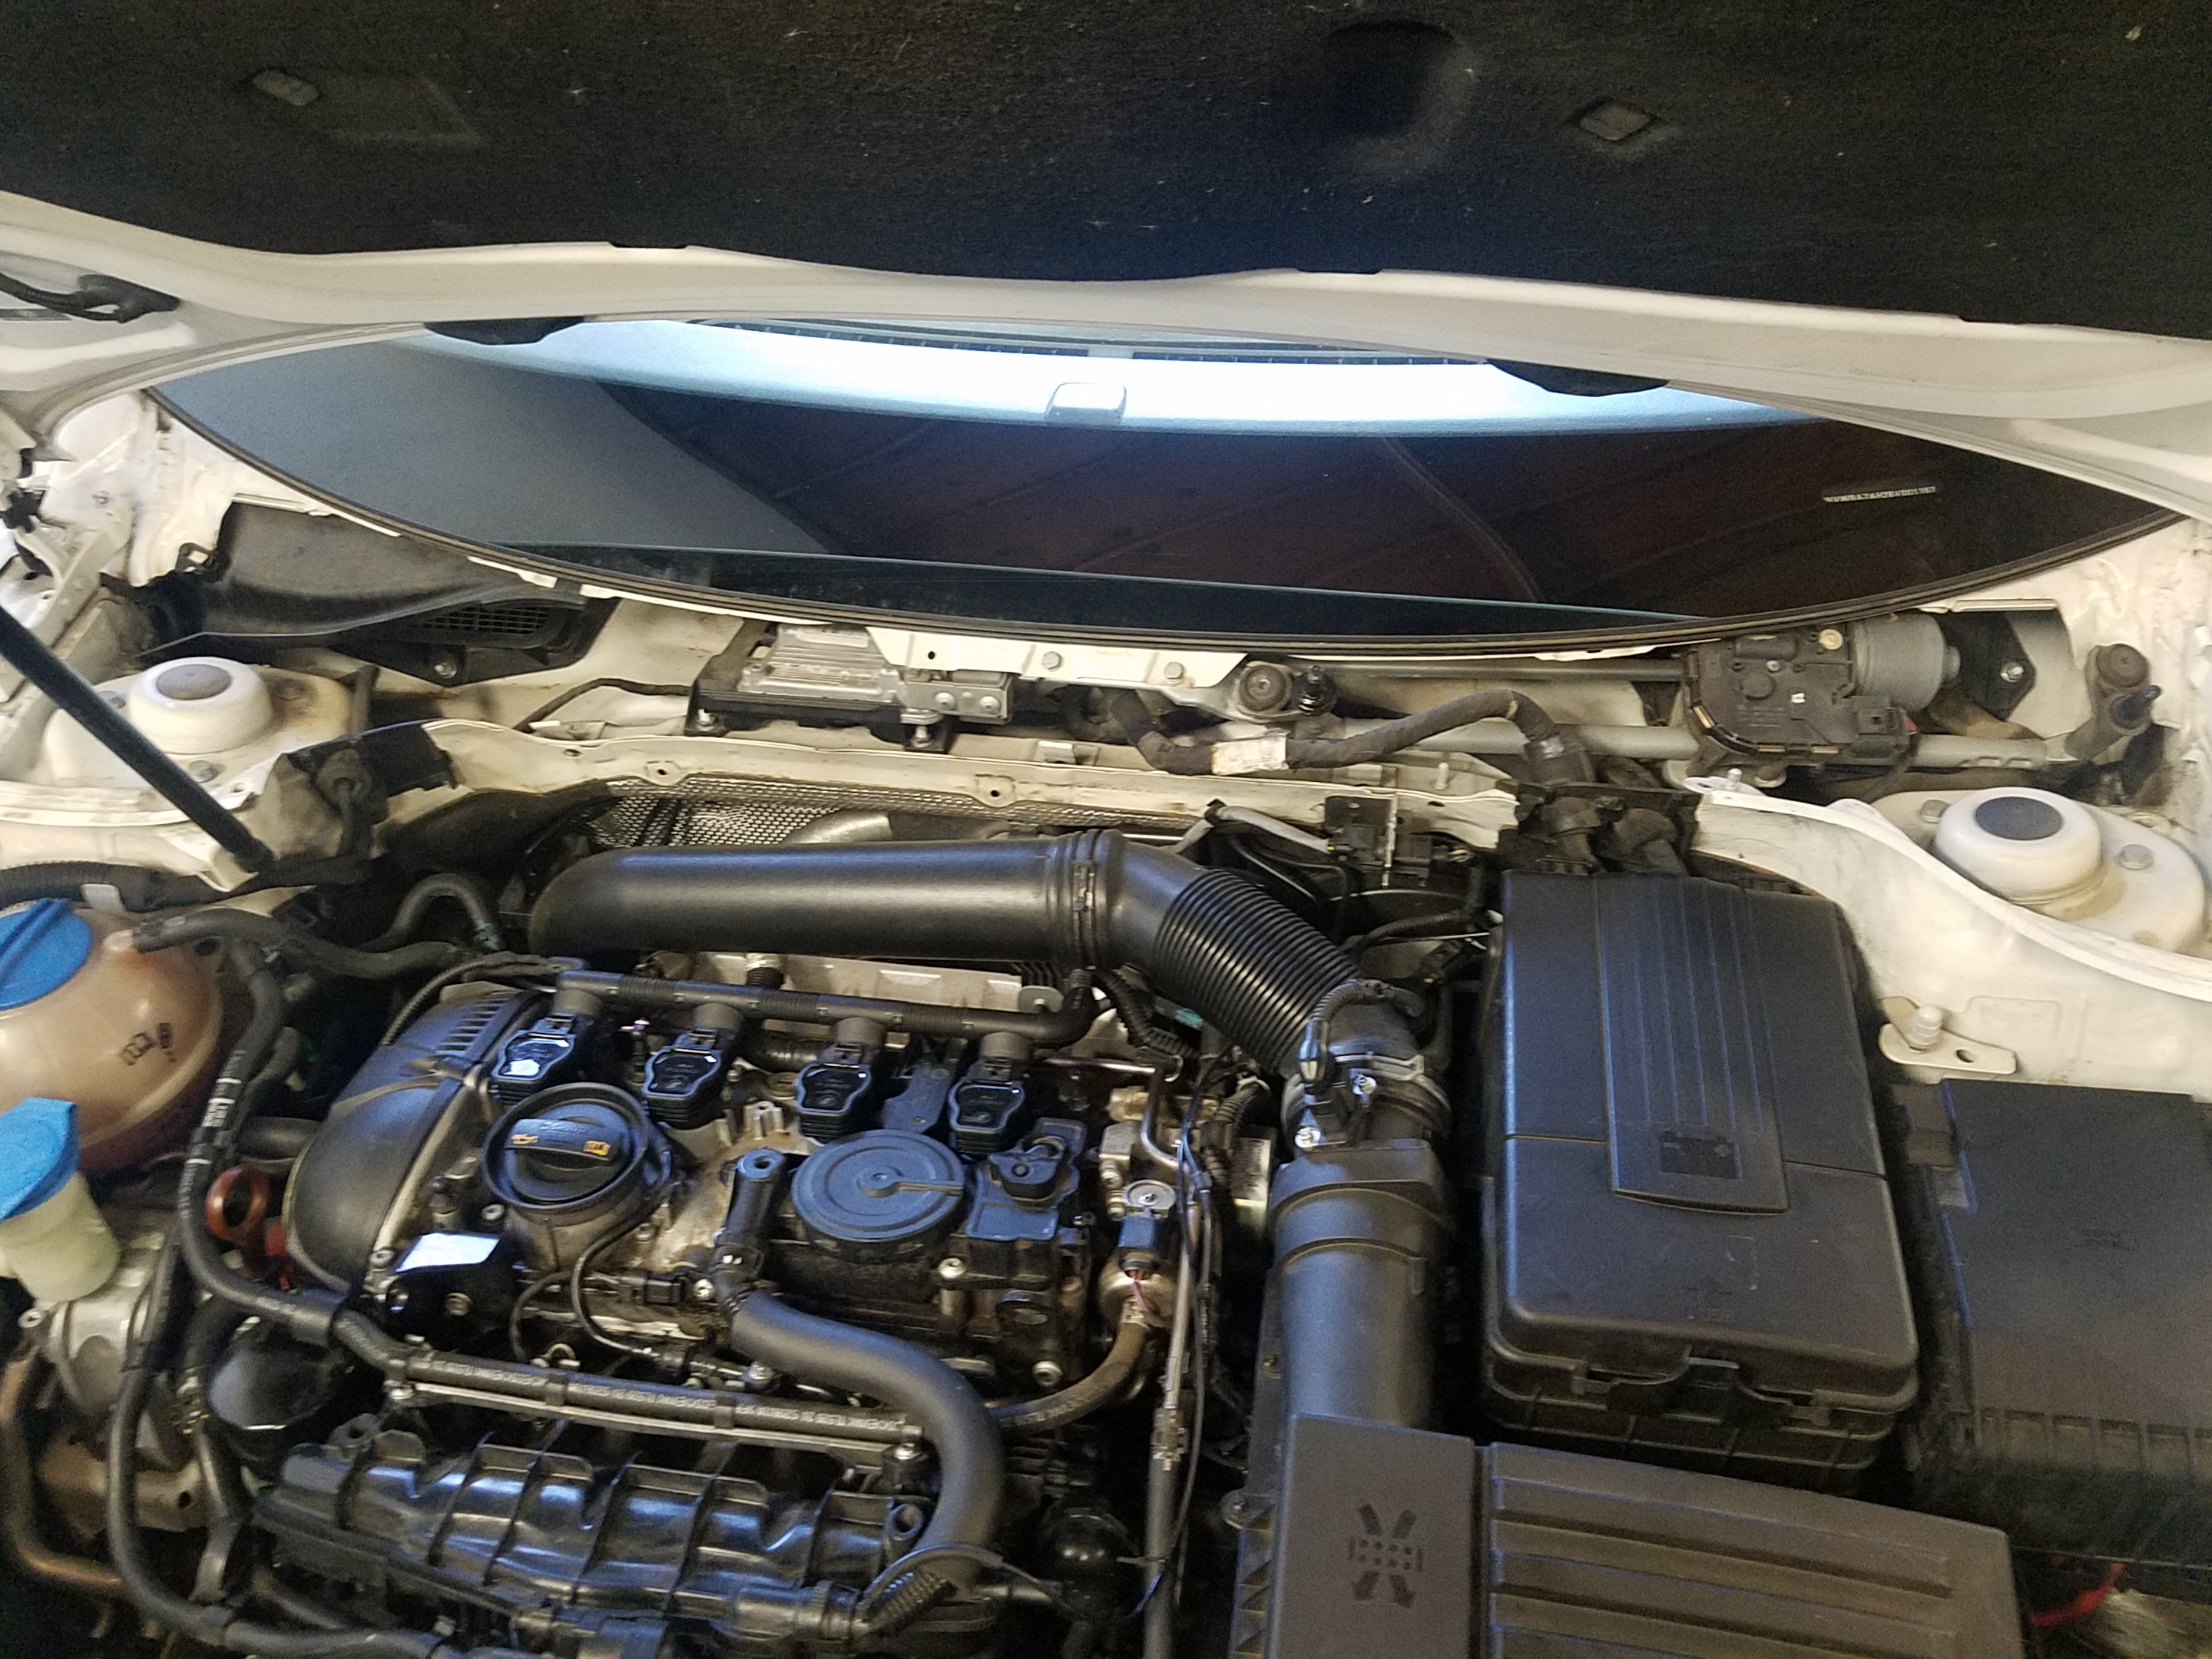
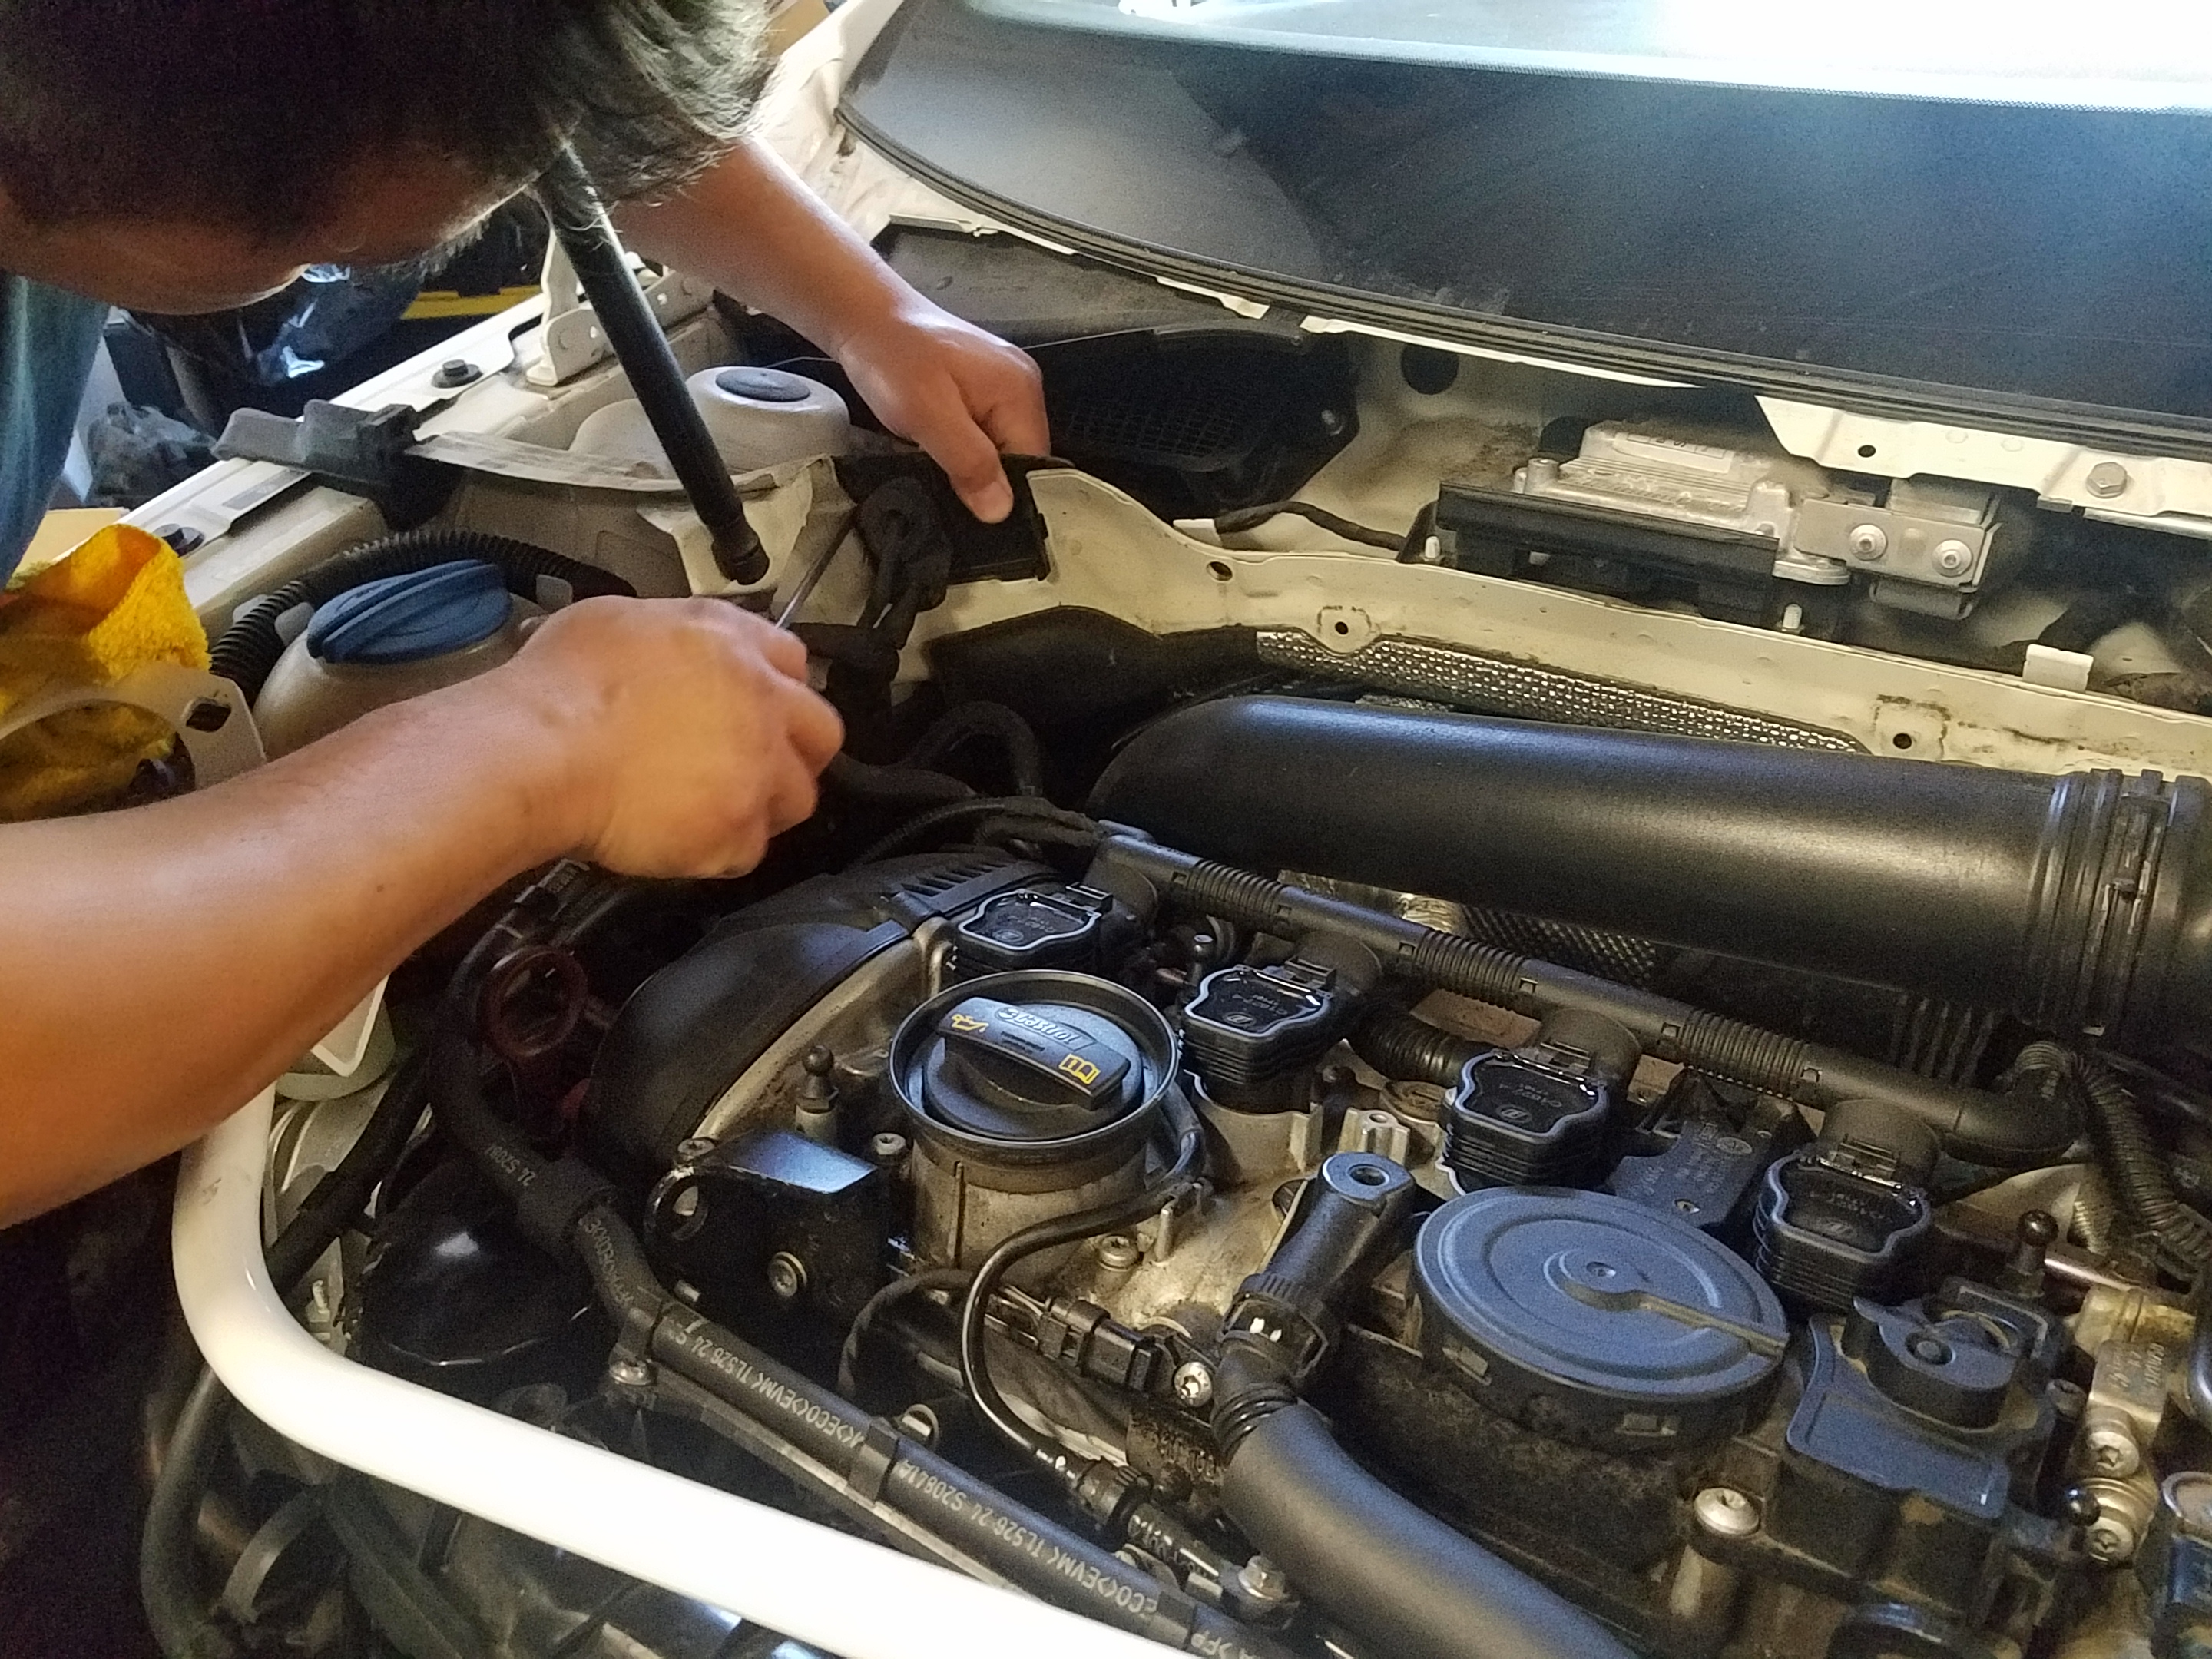
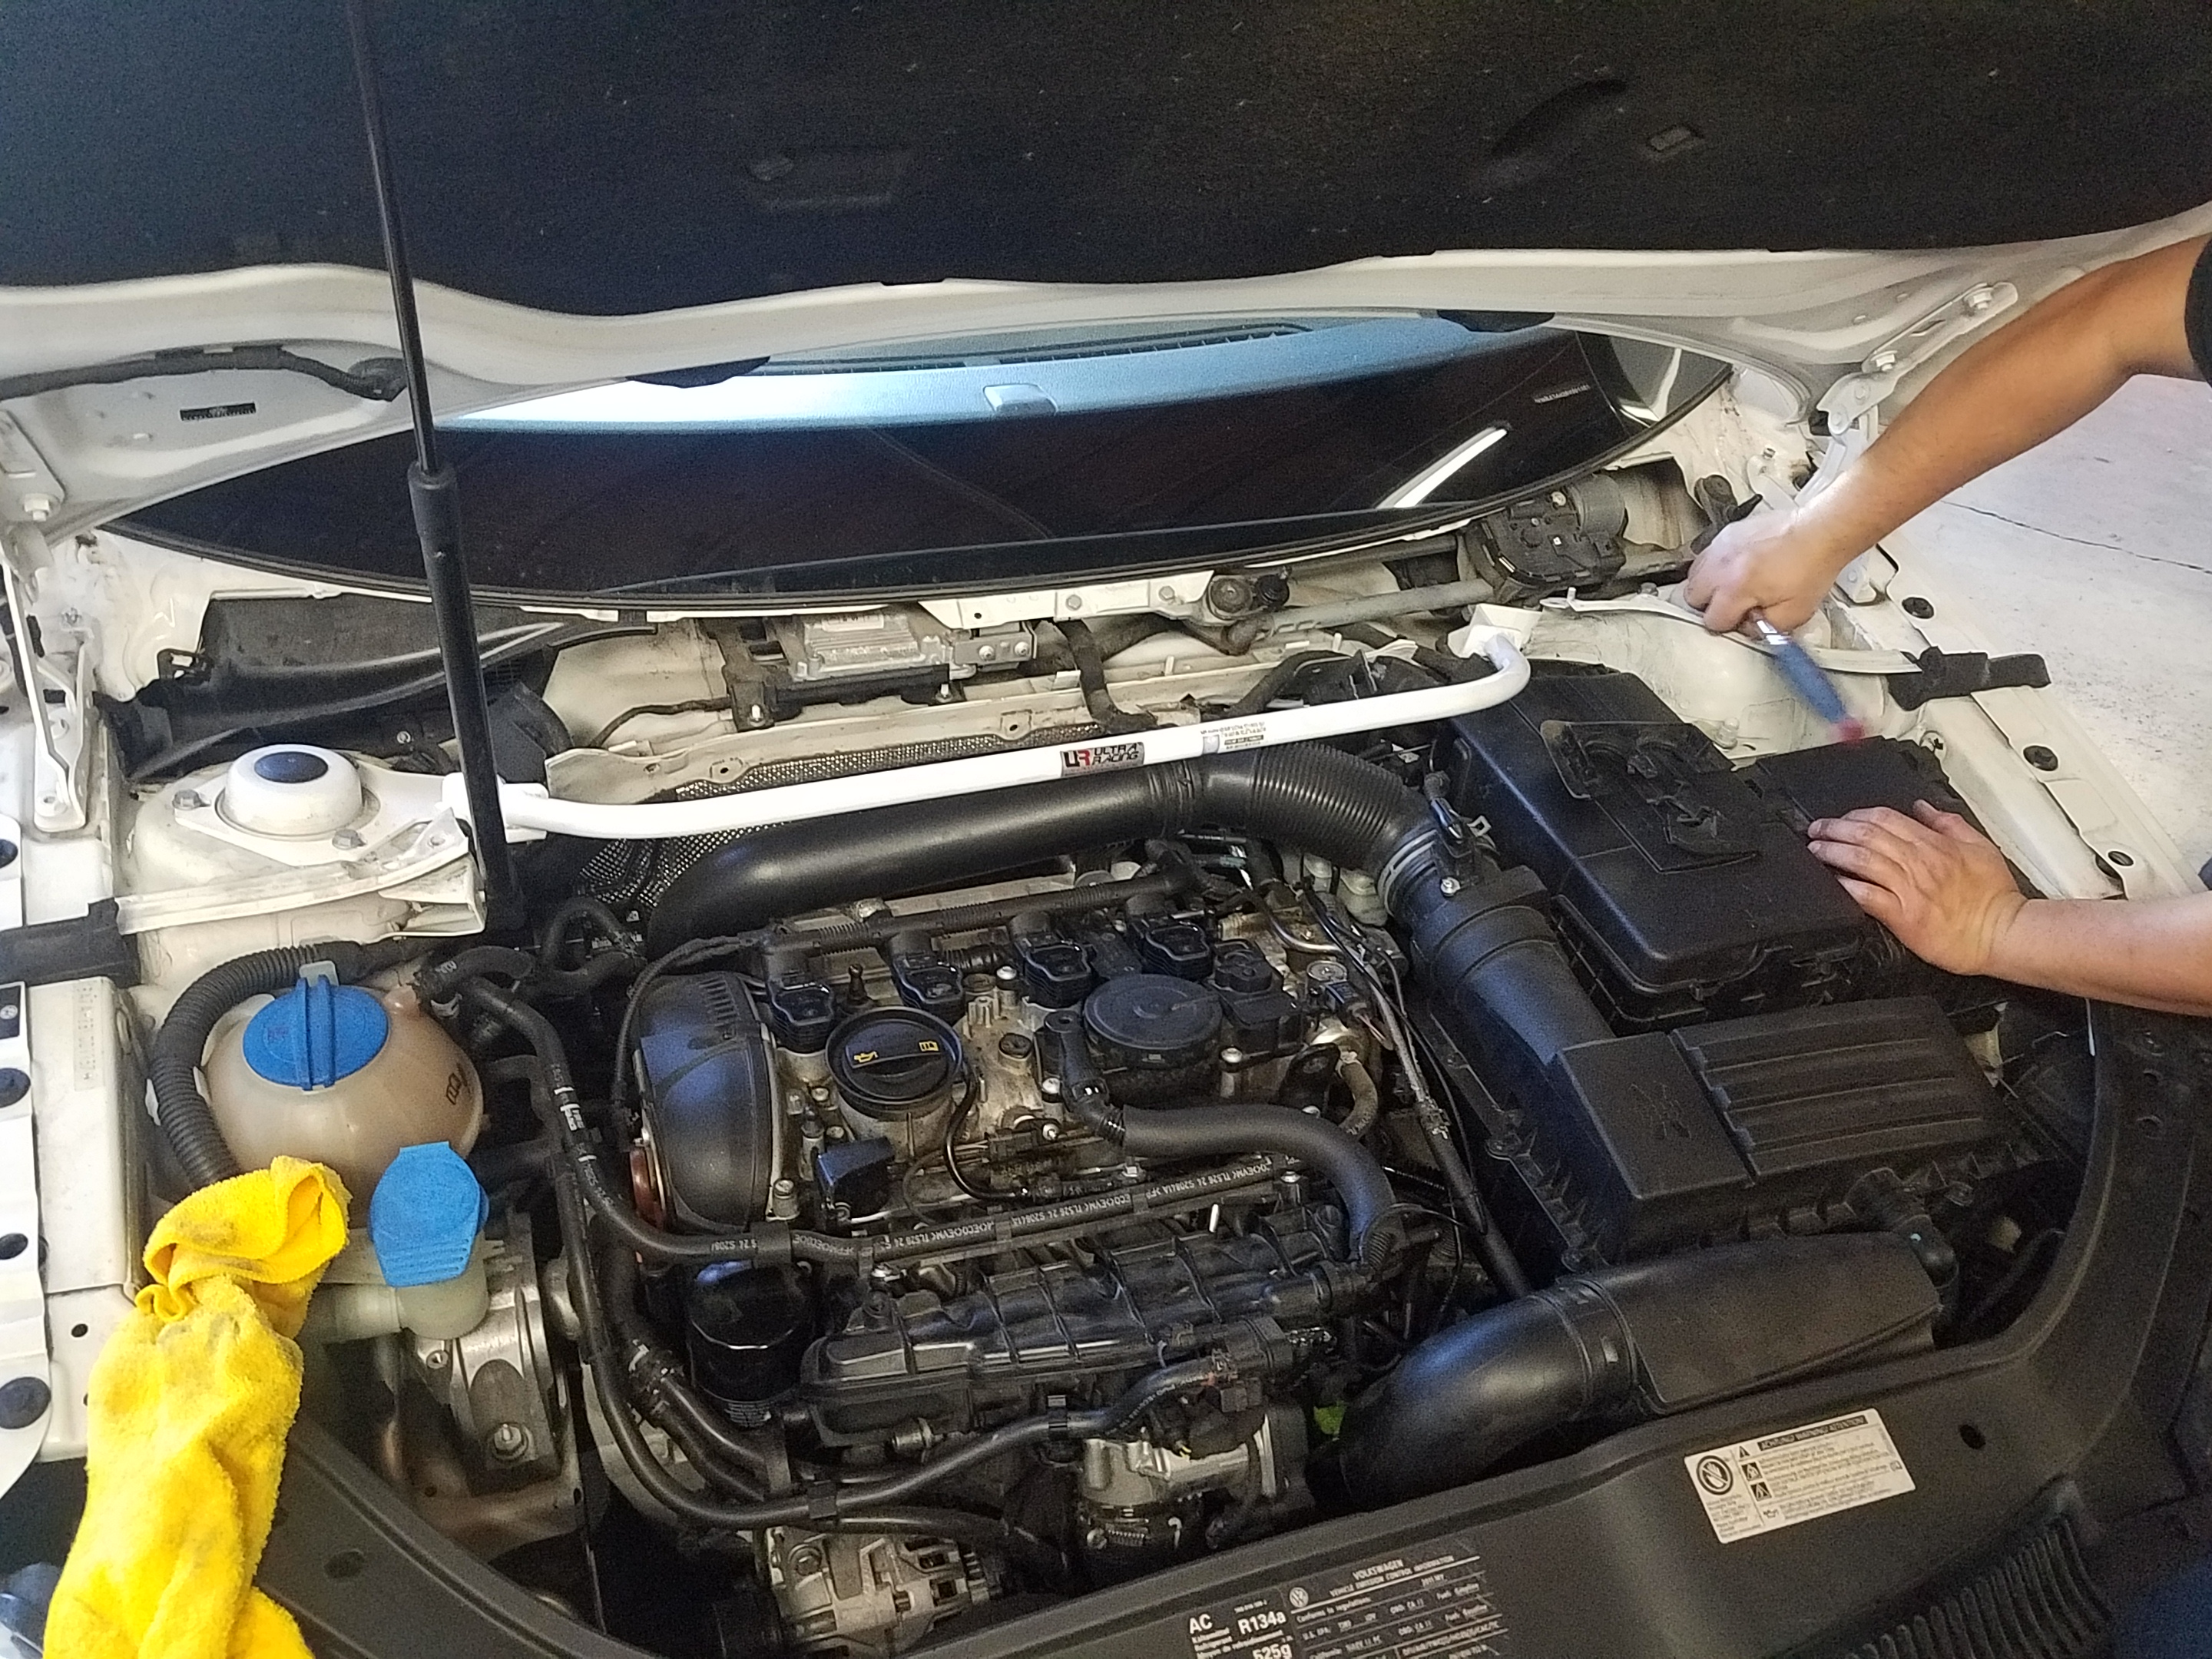
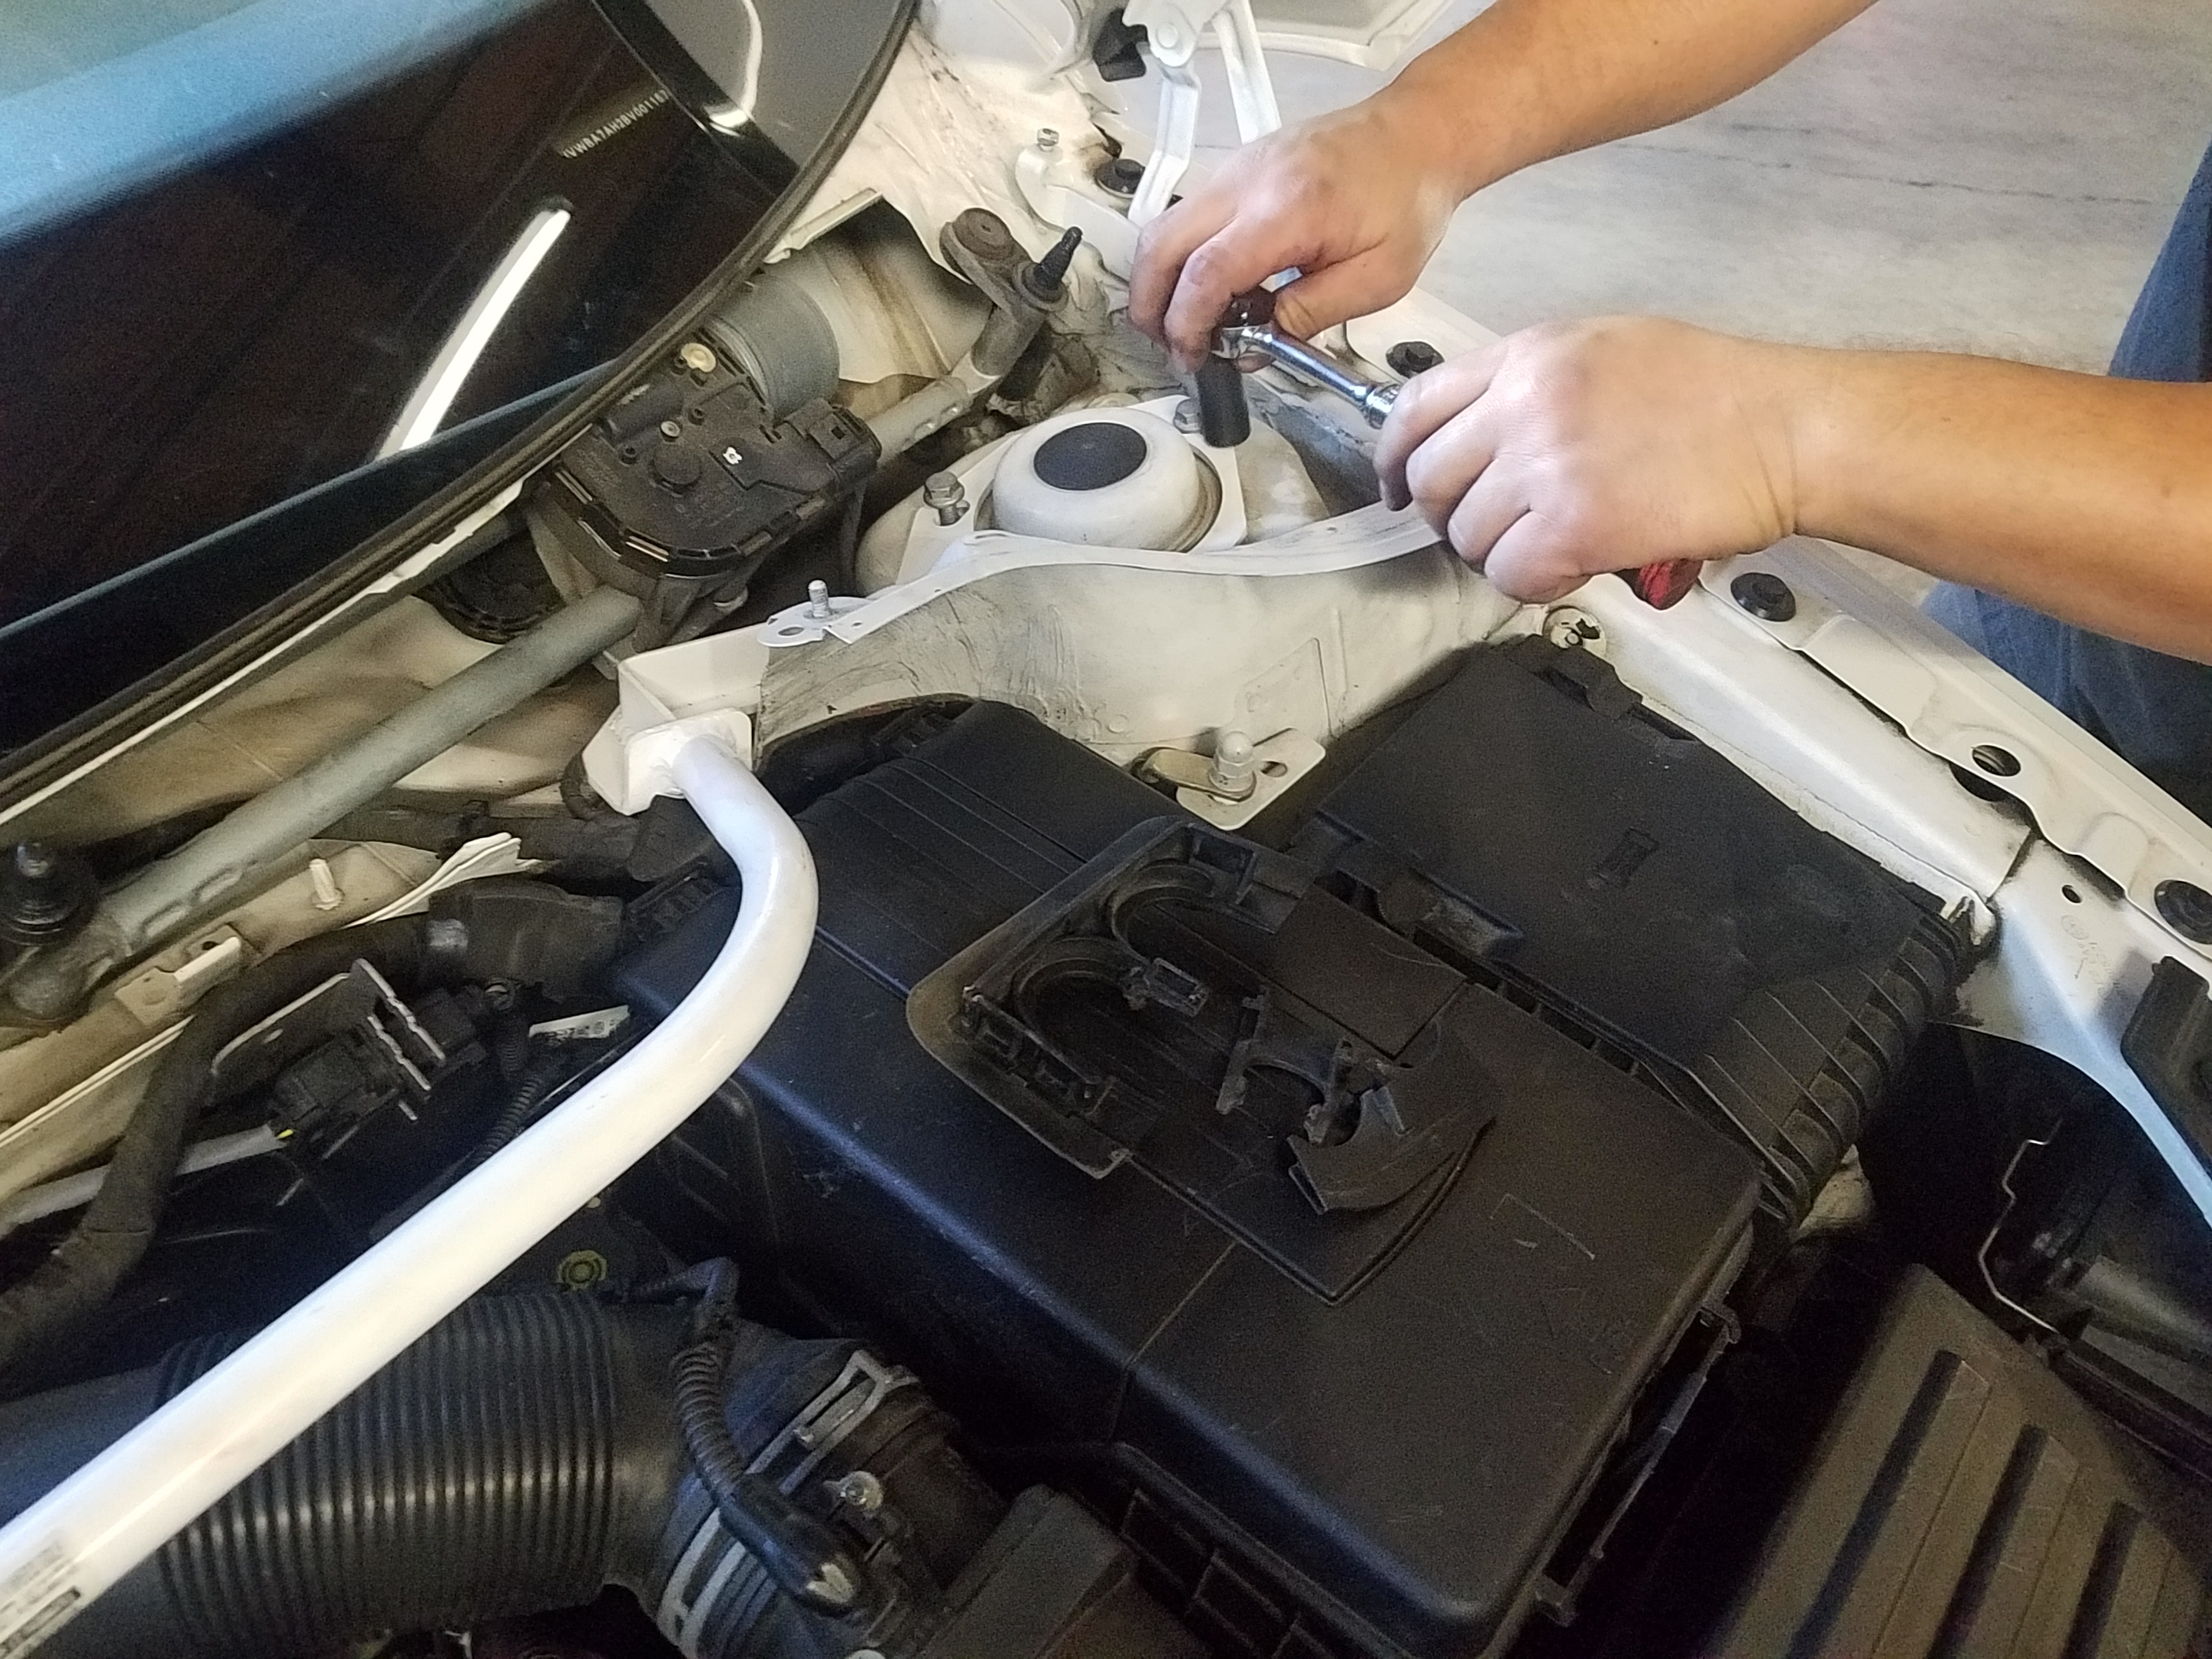
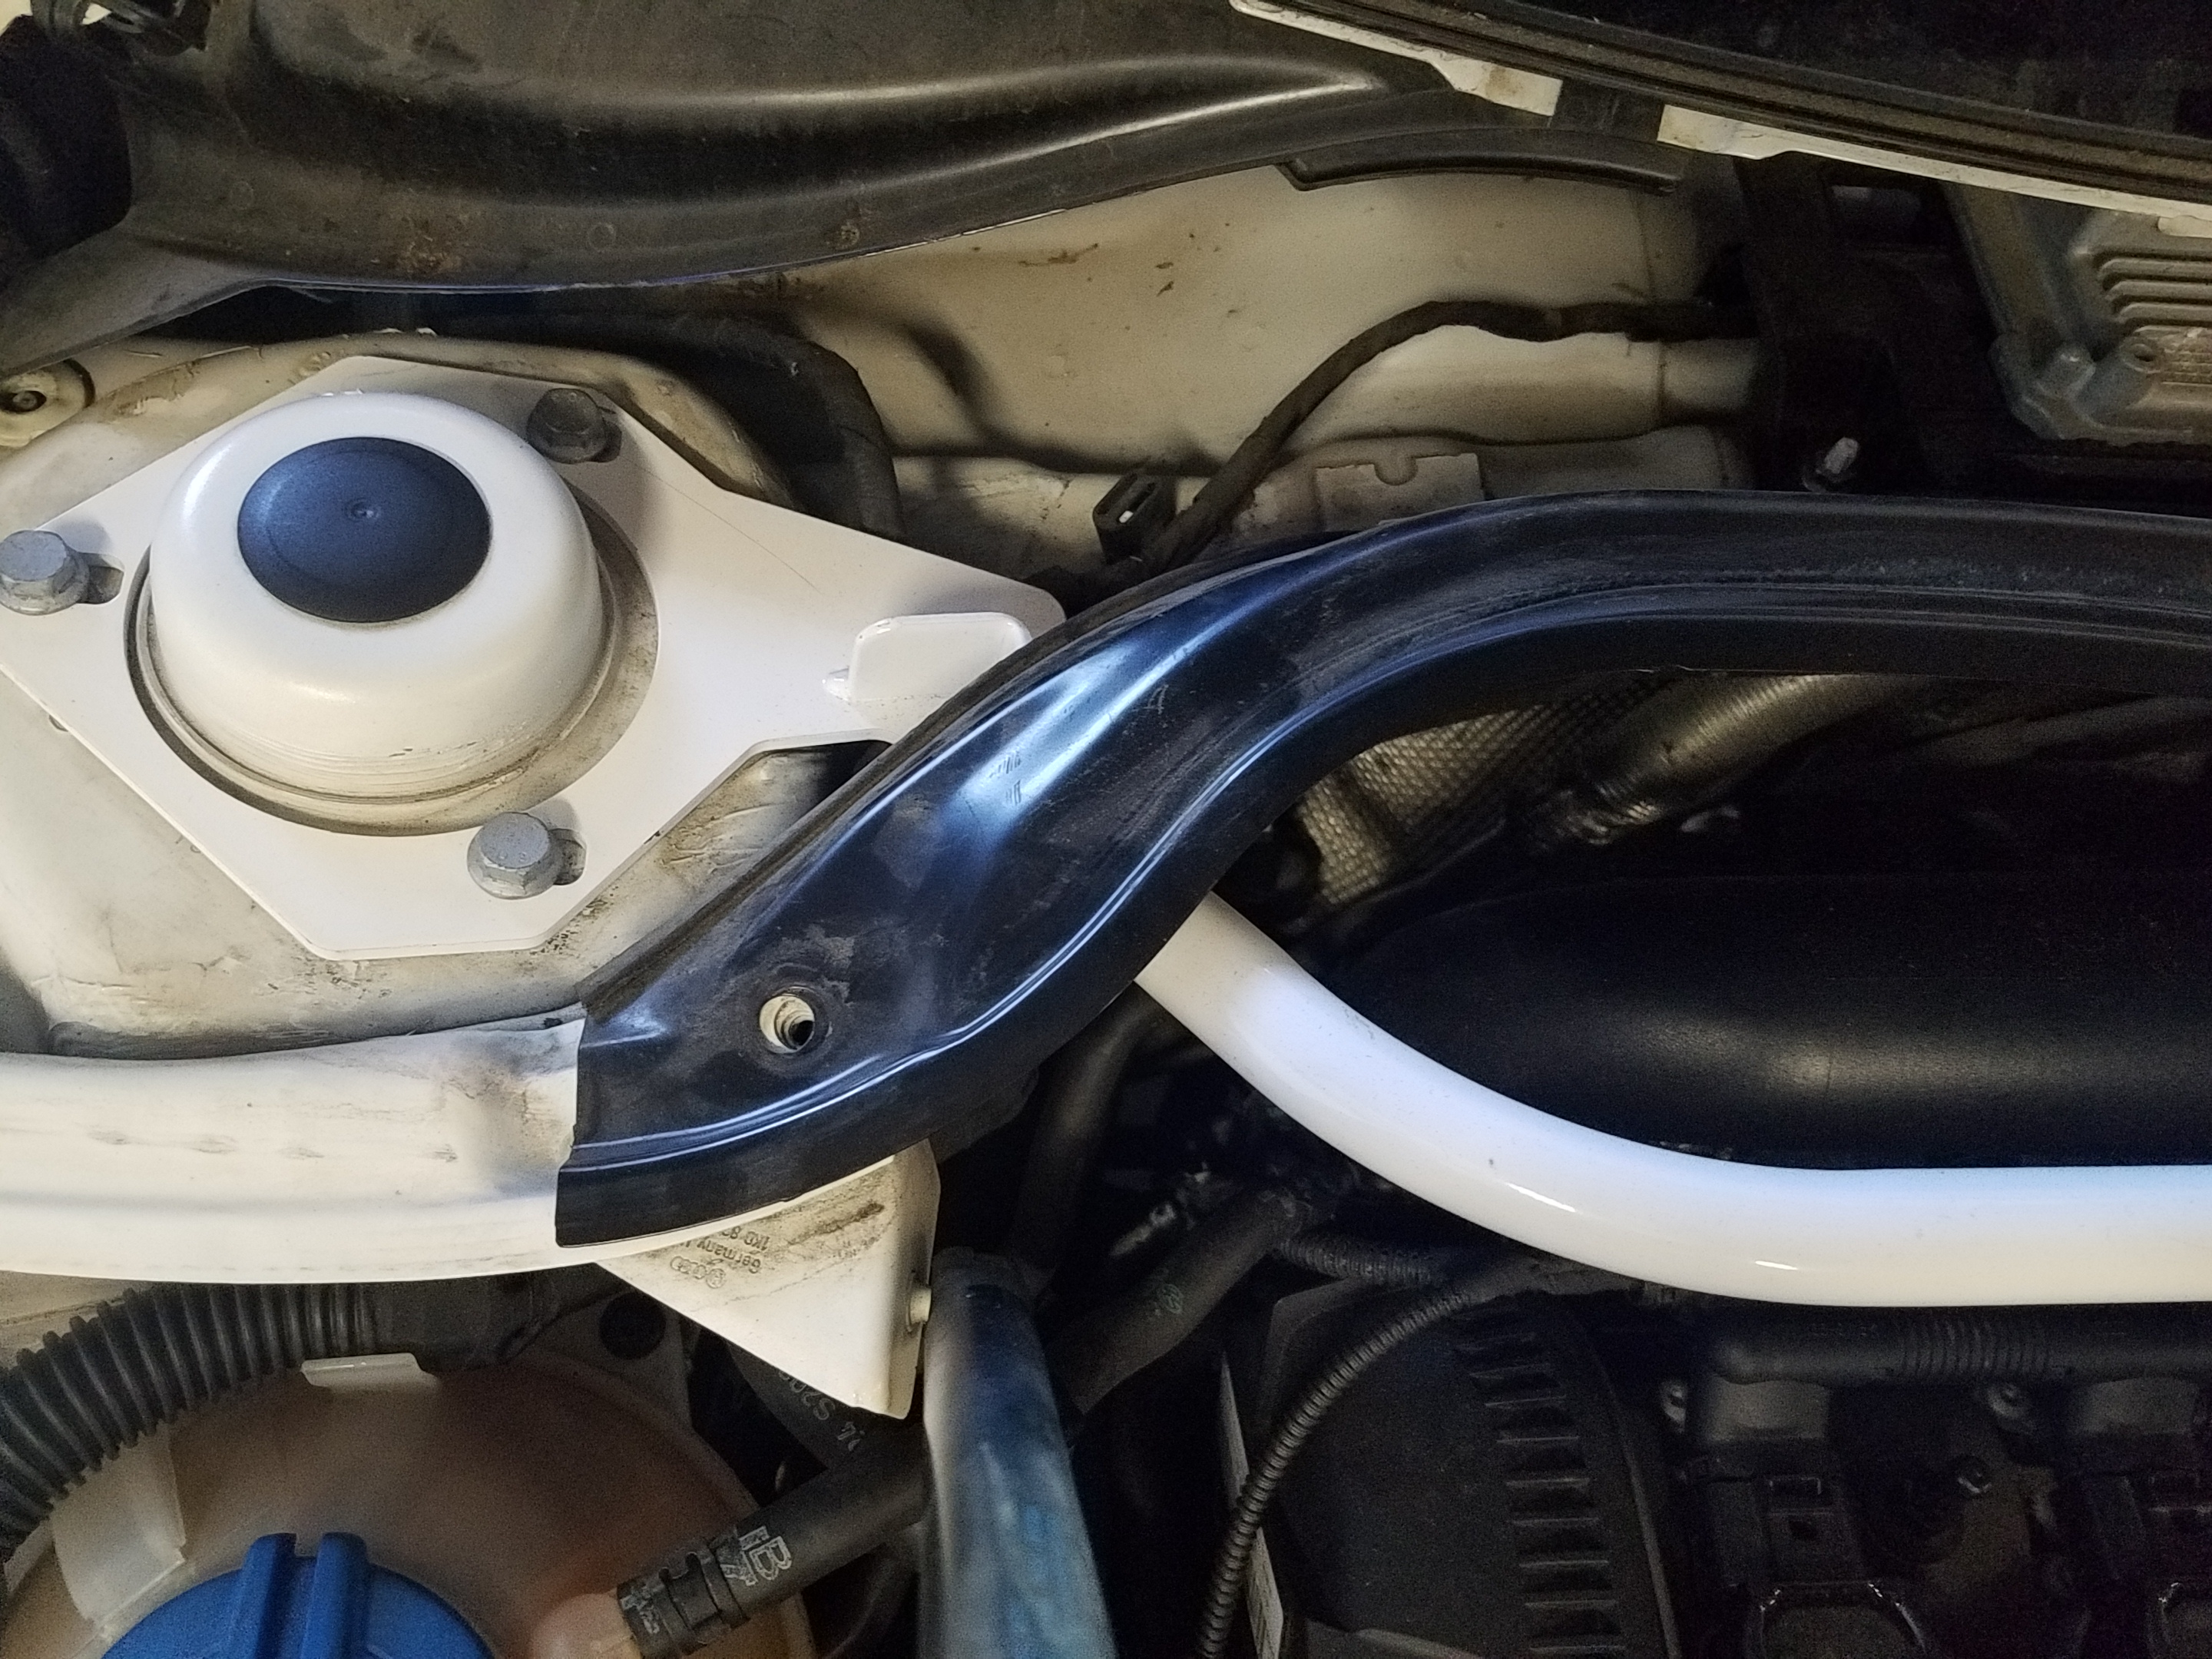
STEP 2 - Remove the plastic holders to the battery cables (driver side) and wire loom (passenger side). We tried to keep those in place so it would look neat, but there is no room for those plastic units. The cables and wire looms will be okay pushed over slightly. In Fact you will not notice that it was on a plastic holder. The strut brace needs these two areas as the firewall access points.
Remove the left and right strut studs. (WARNING) If the car is off the ground, do not remove the strut studs. Put the vehicle flat on the ground.

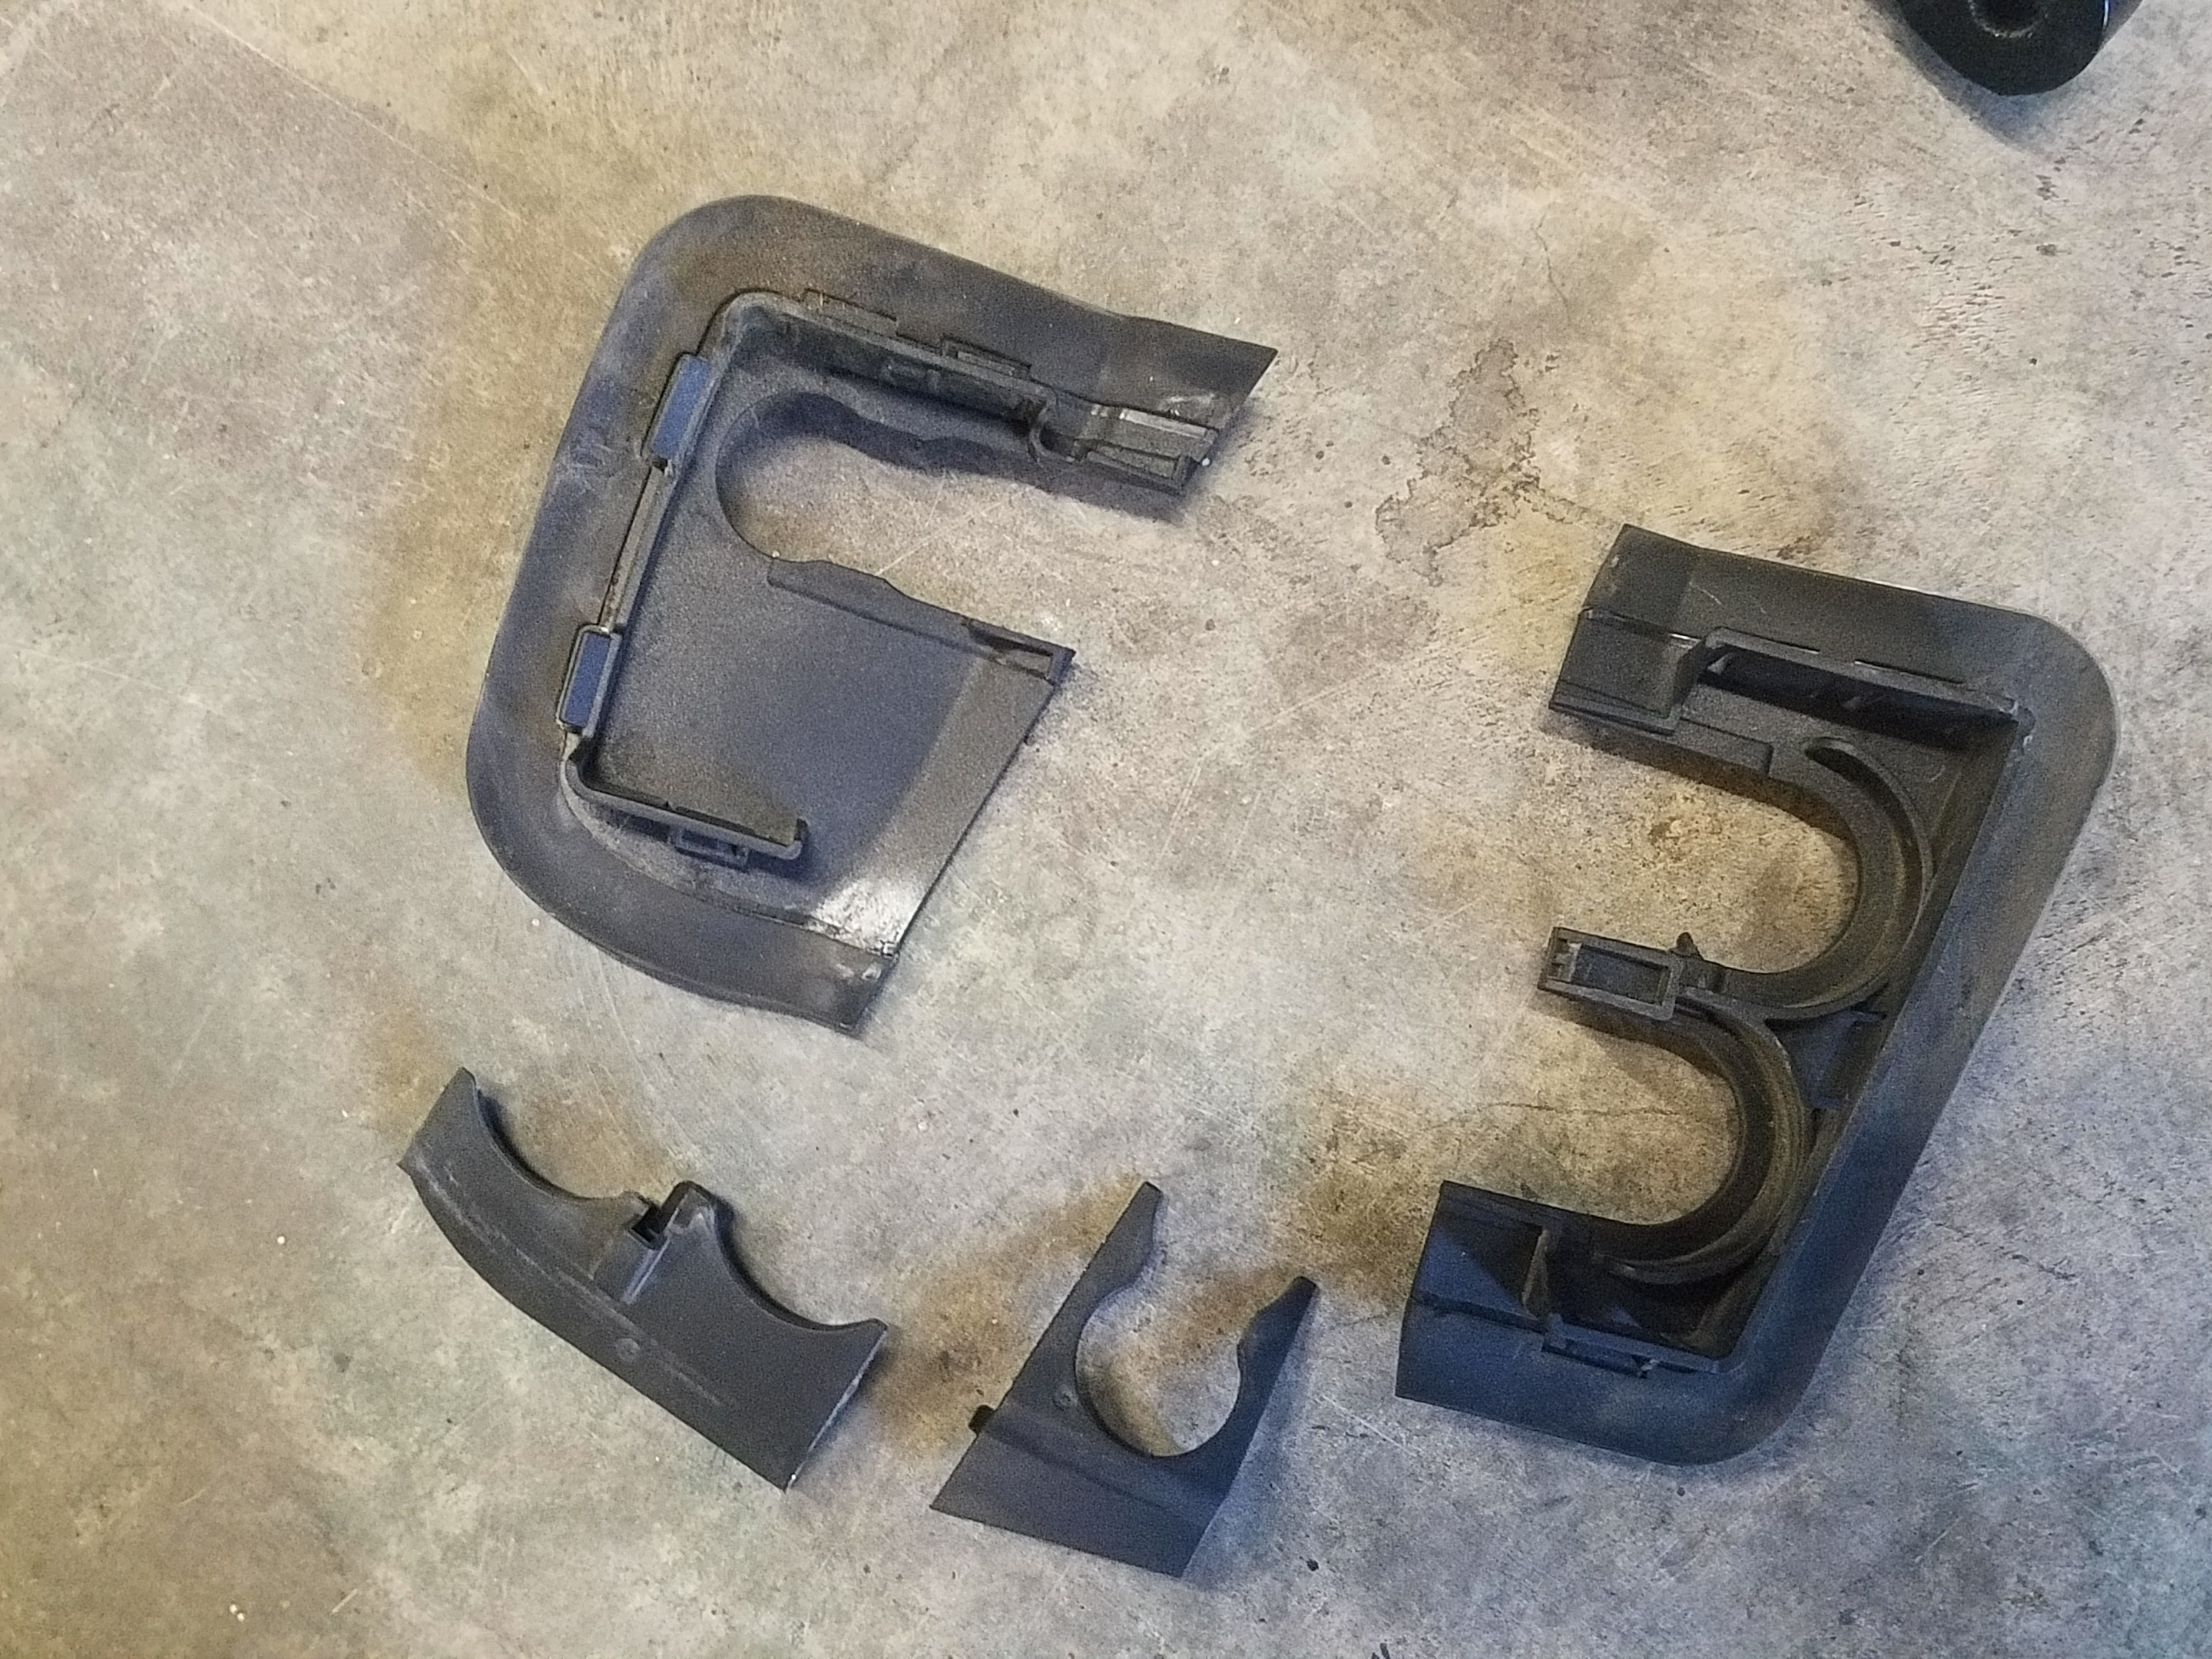
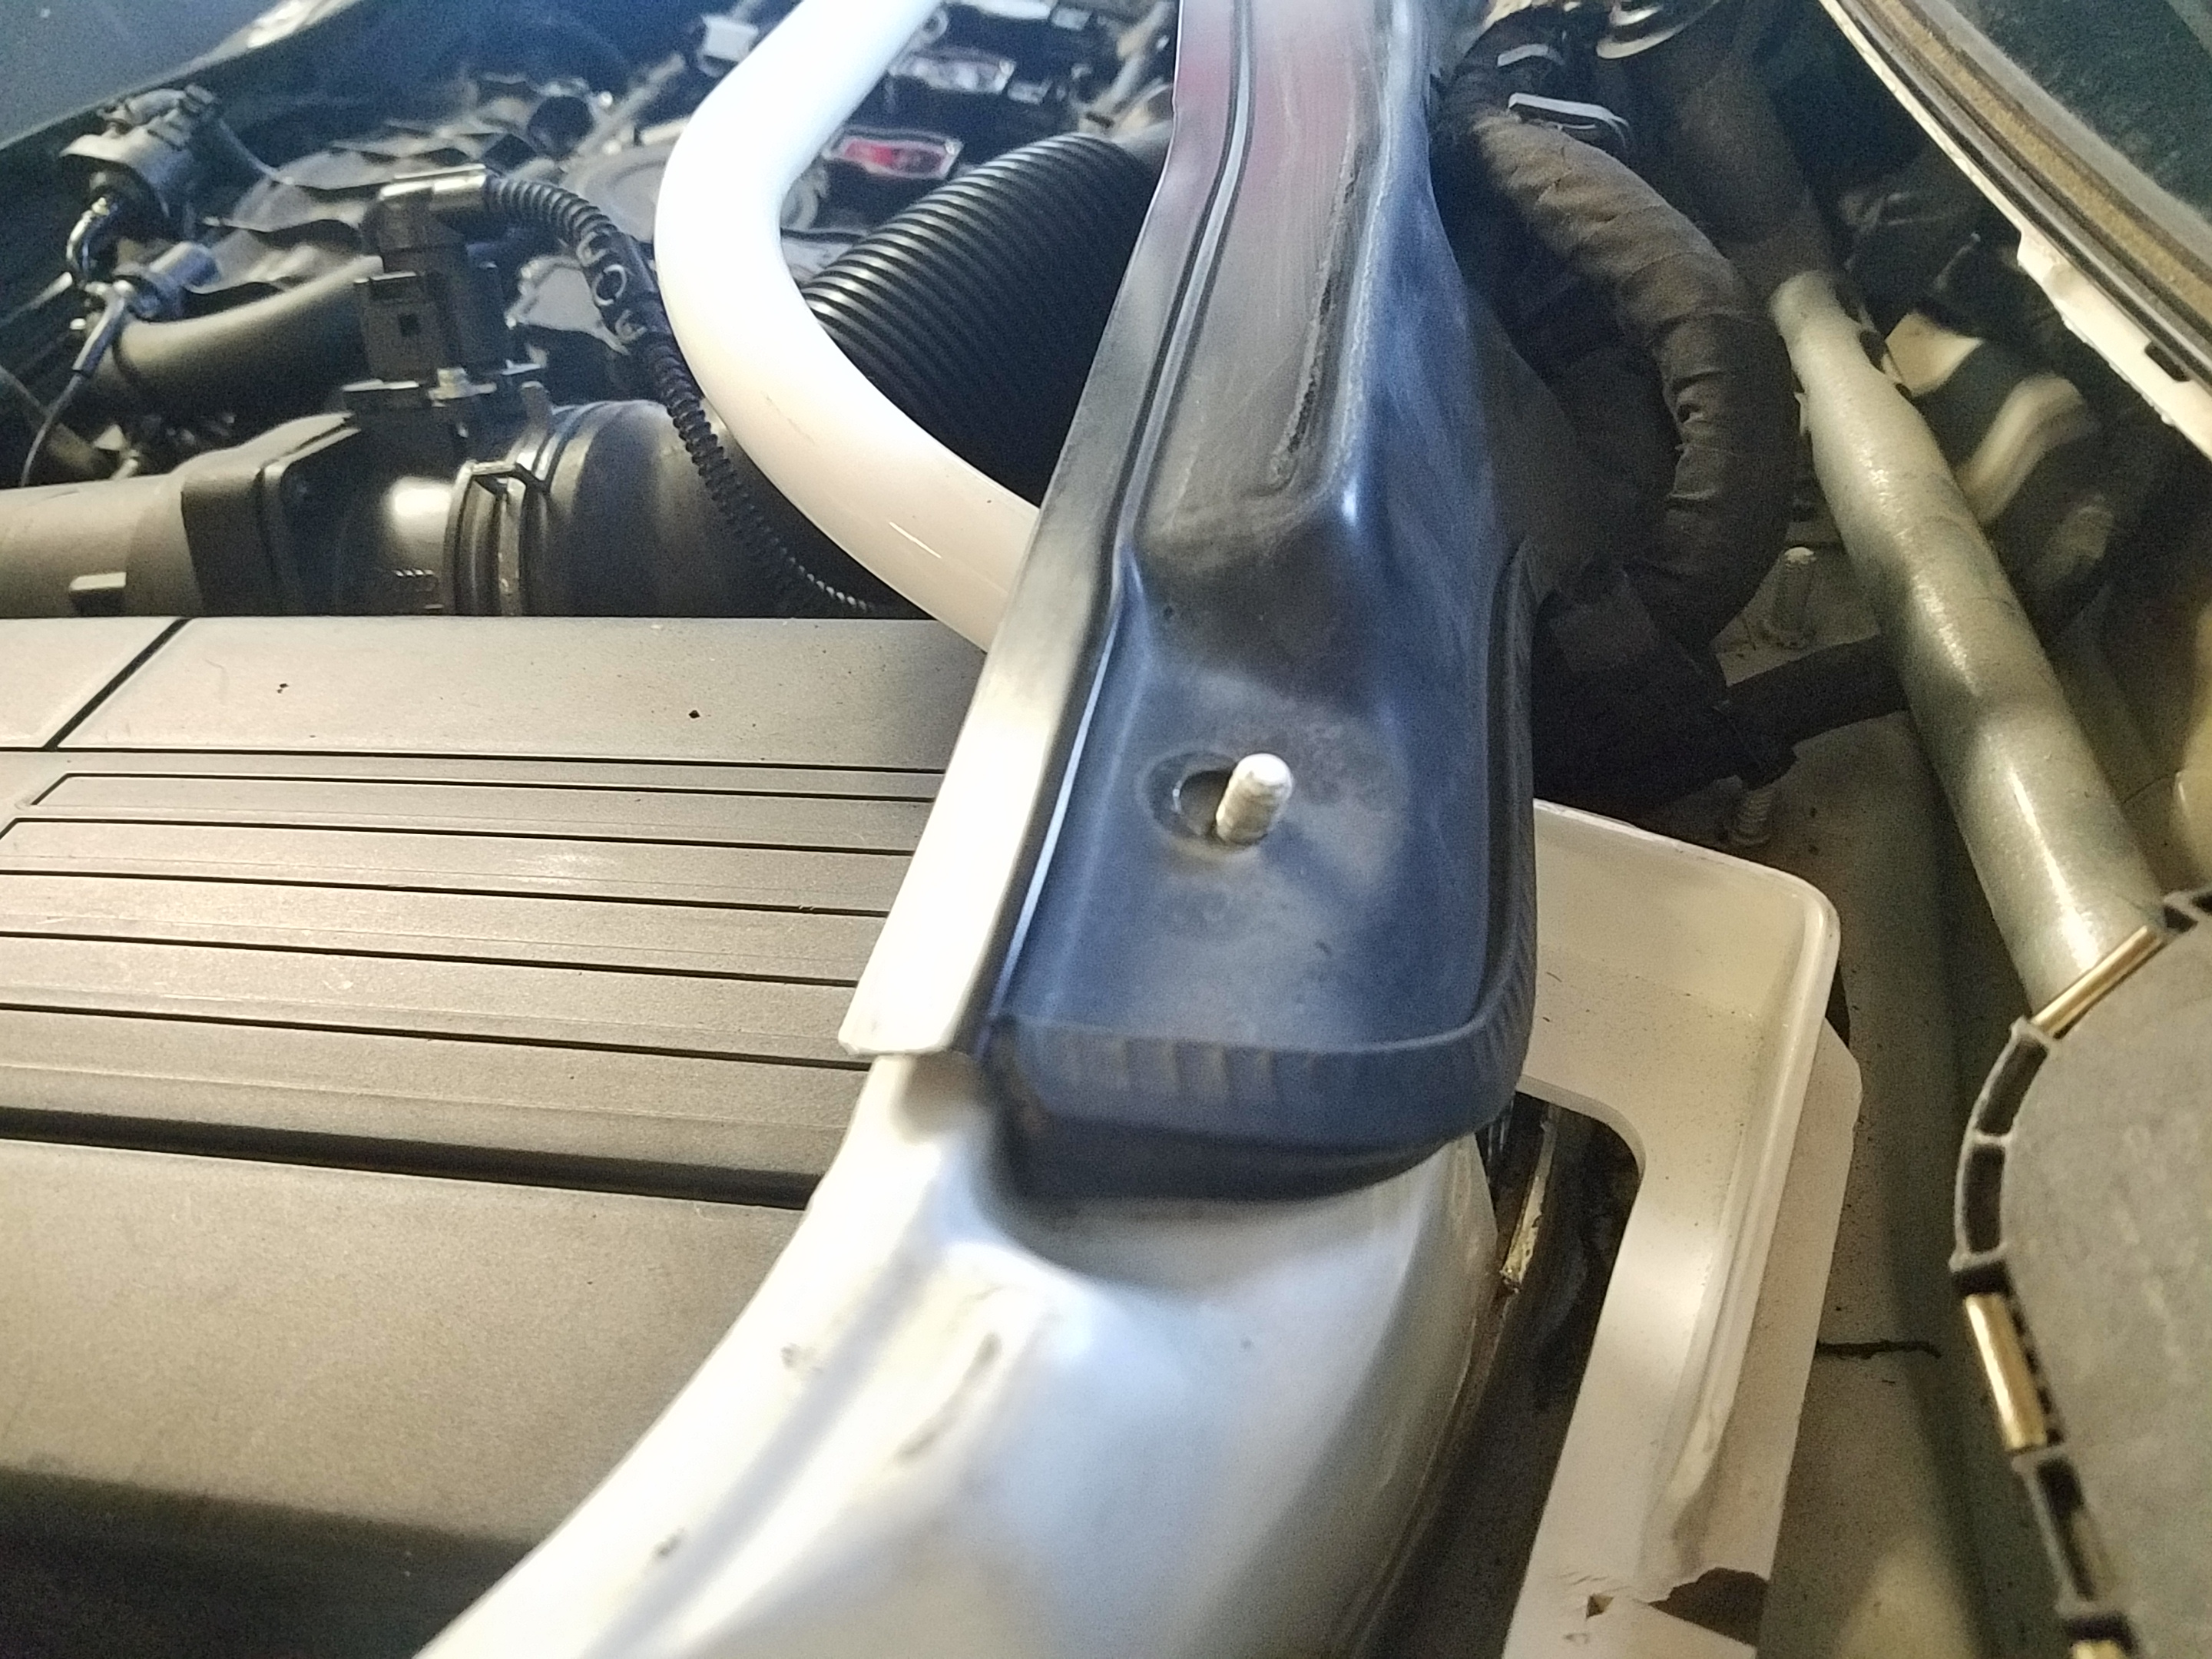
These are the left and right side plastics that must be removed for our brace to work.
STEP 3 - Installing the brace, Install the strut studs. We did not torque the bolts up to specs. Call your local VW dealer for that. At this point start installing all your OE items.
Passenger side
Driver side
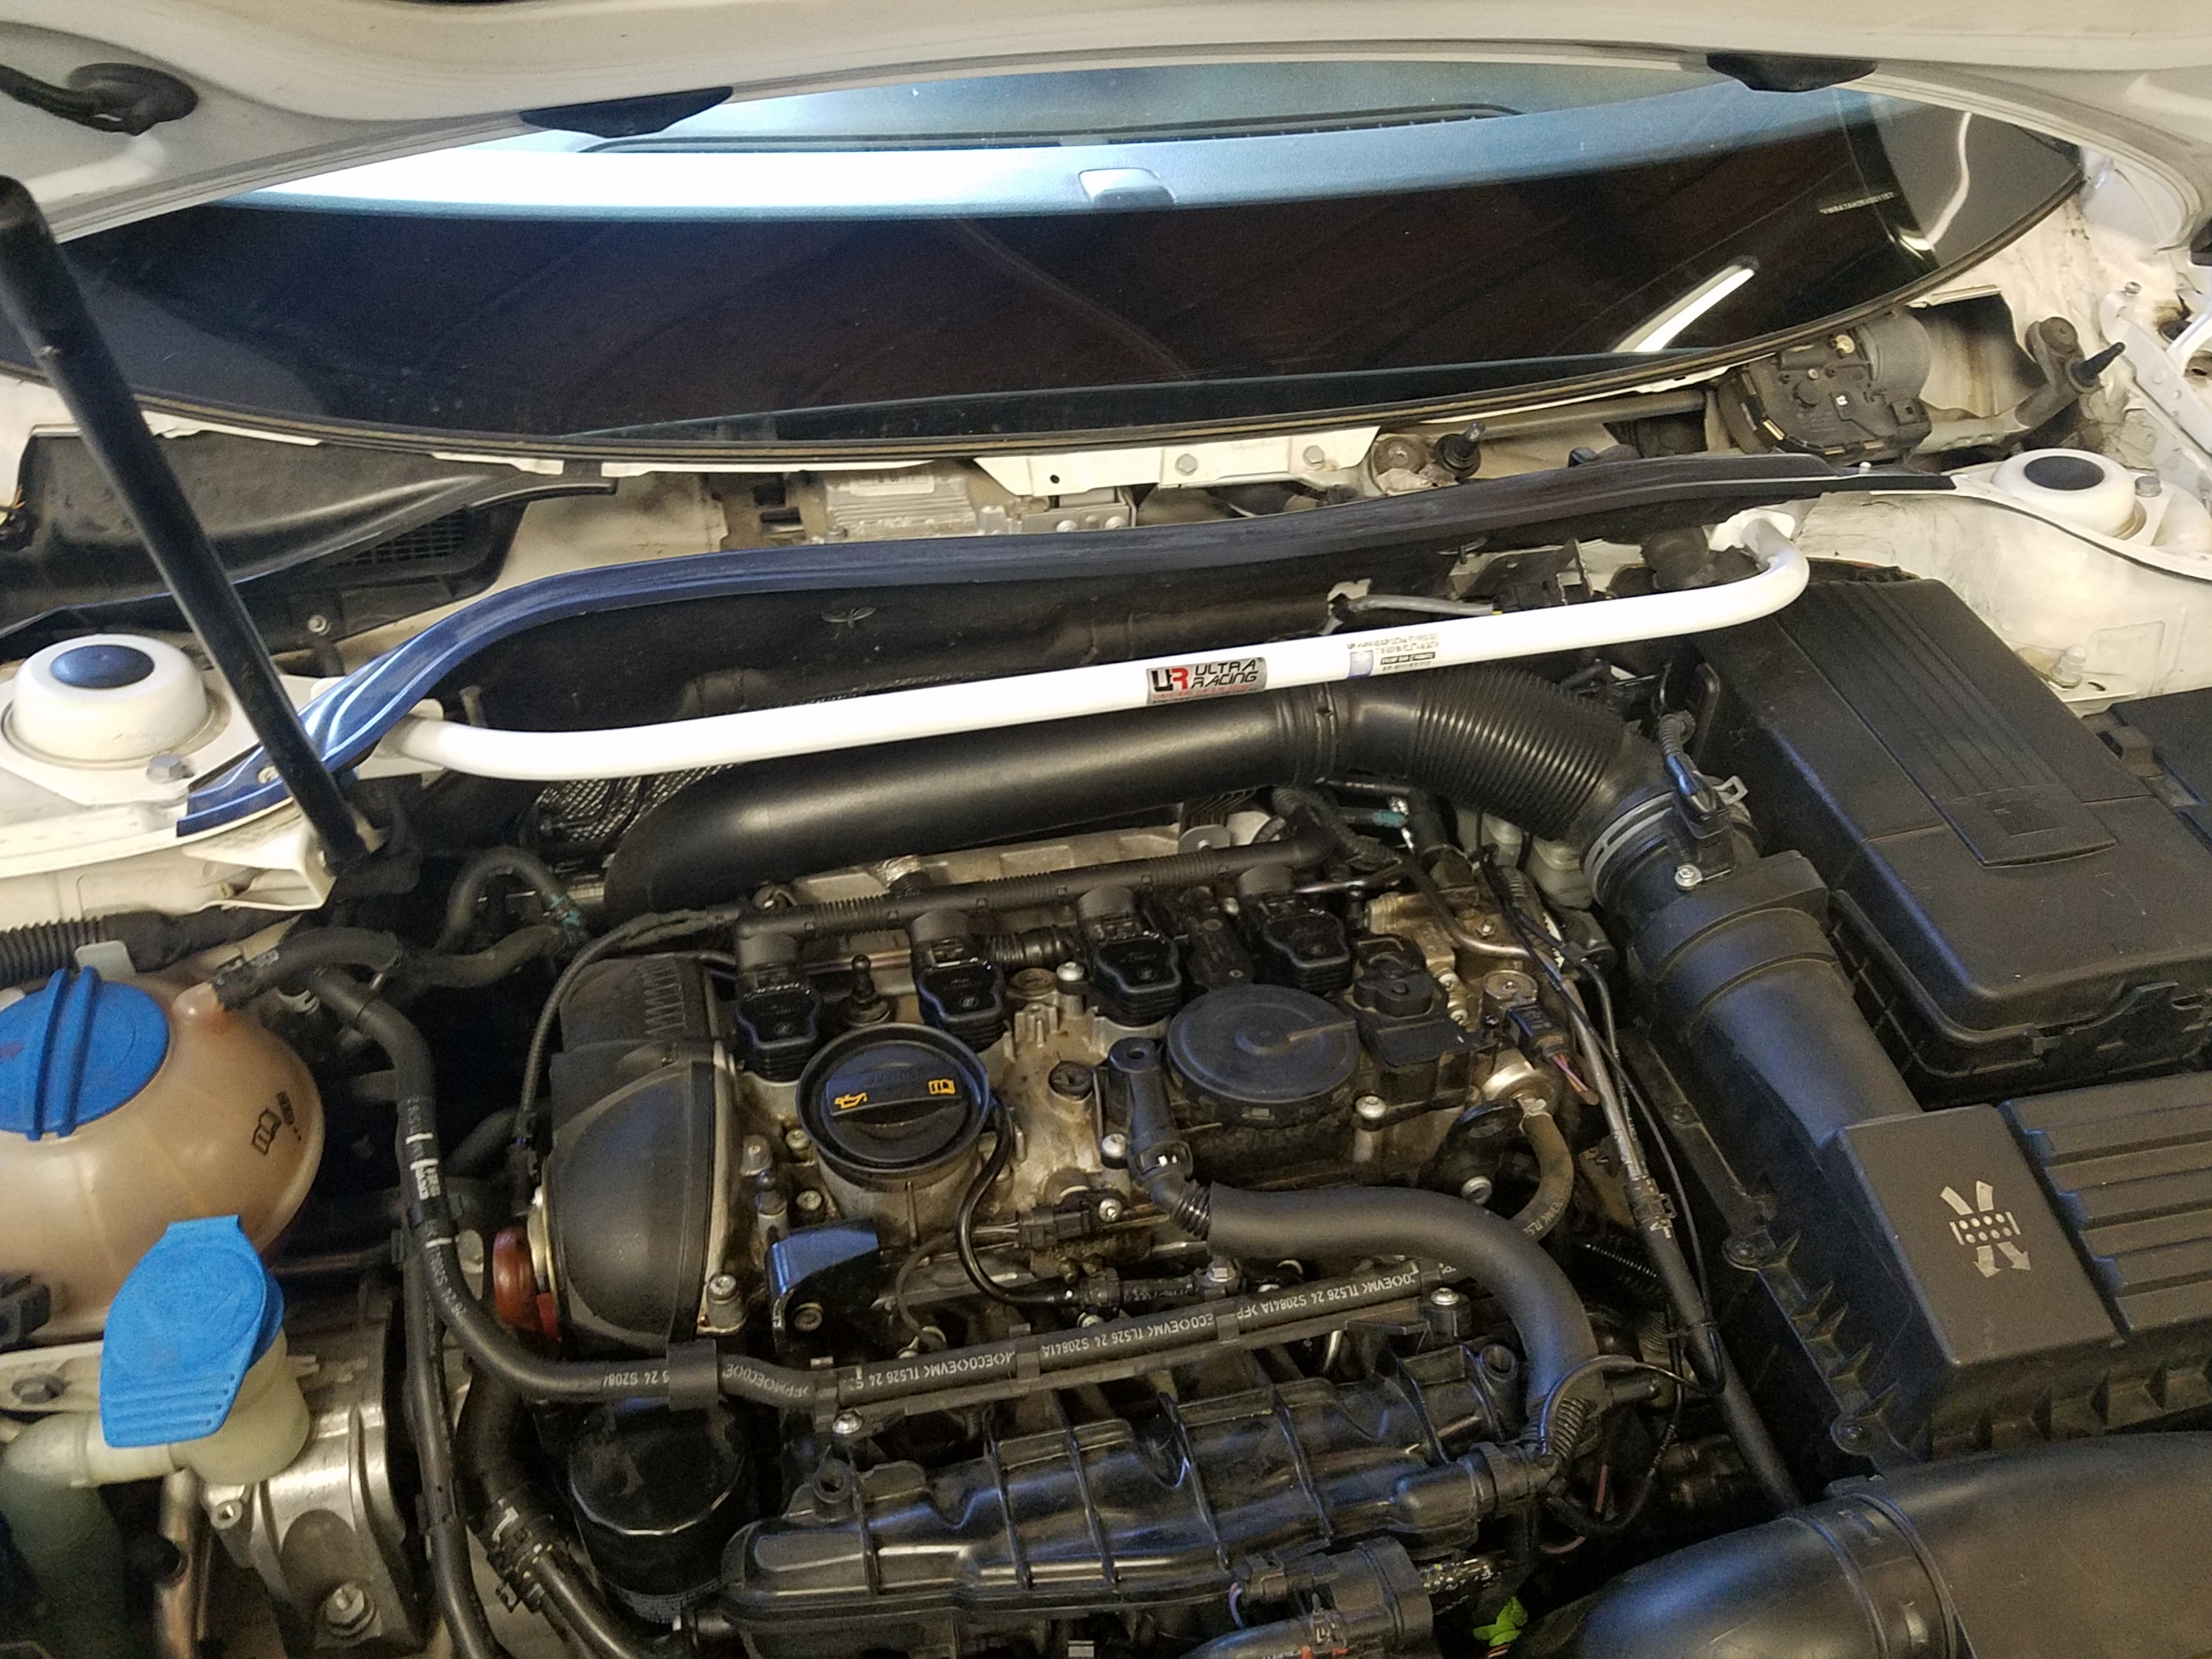
Final product
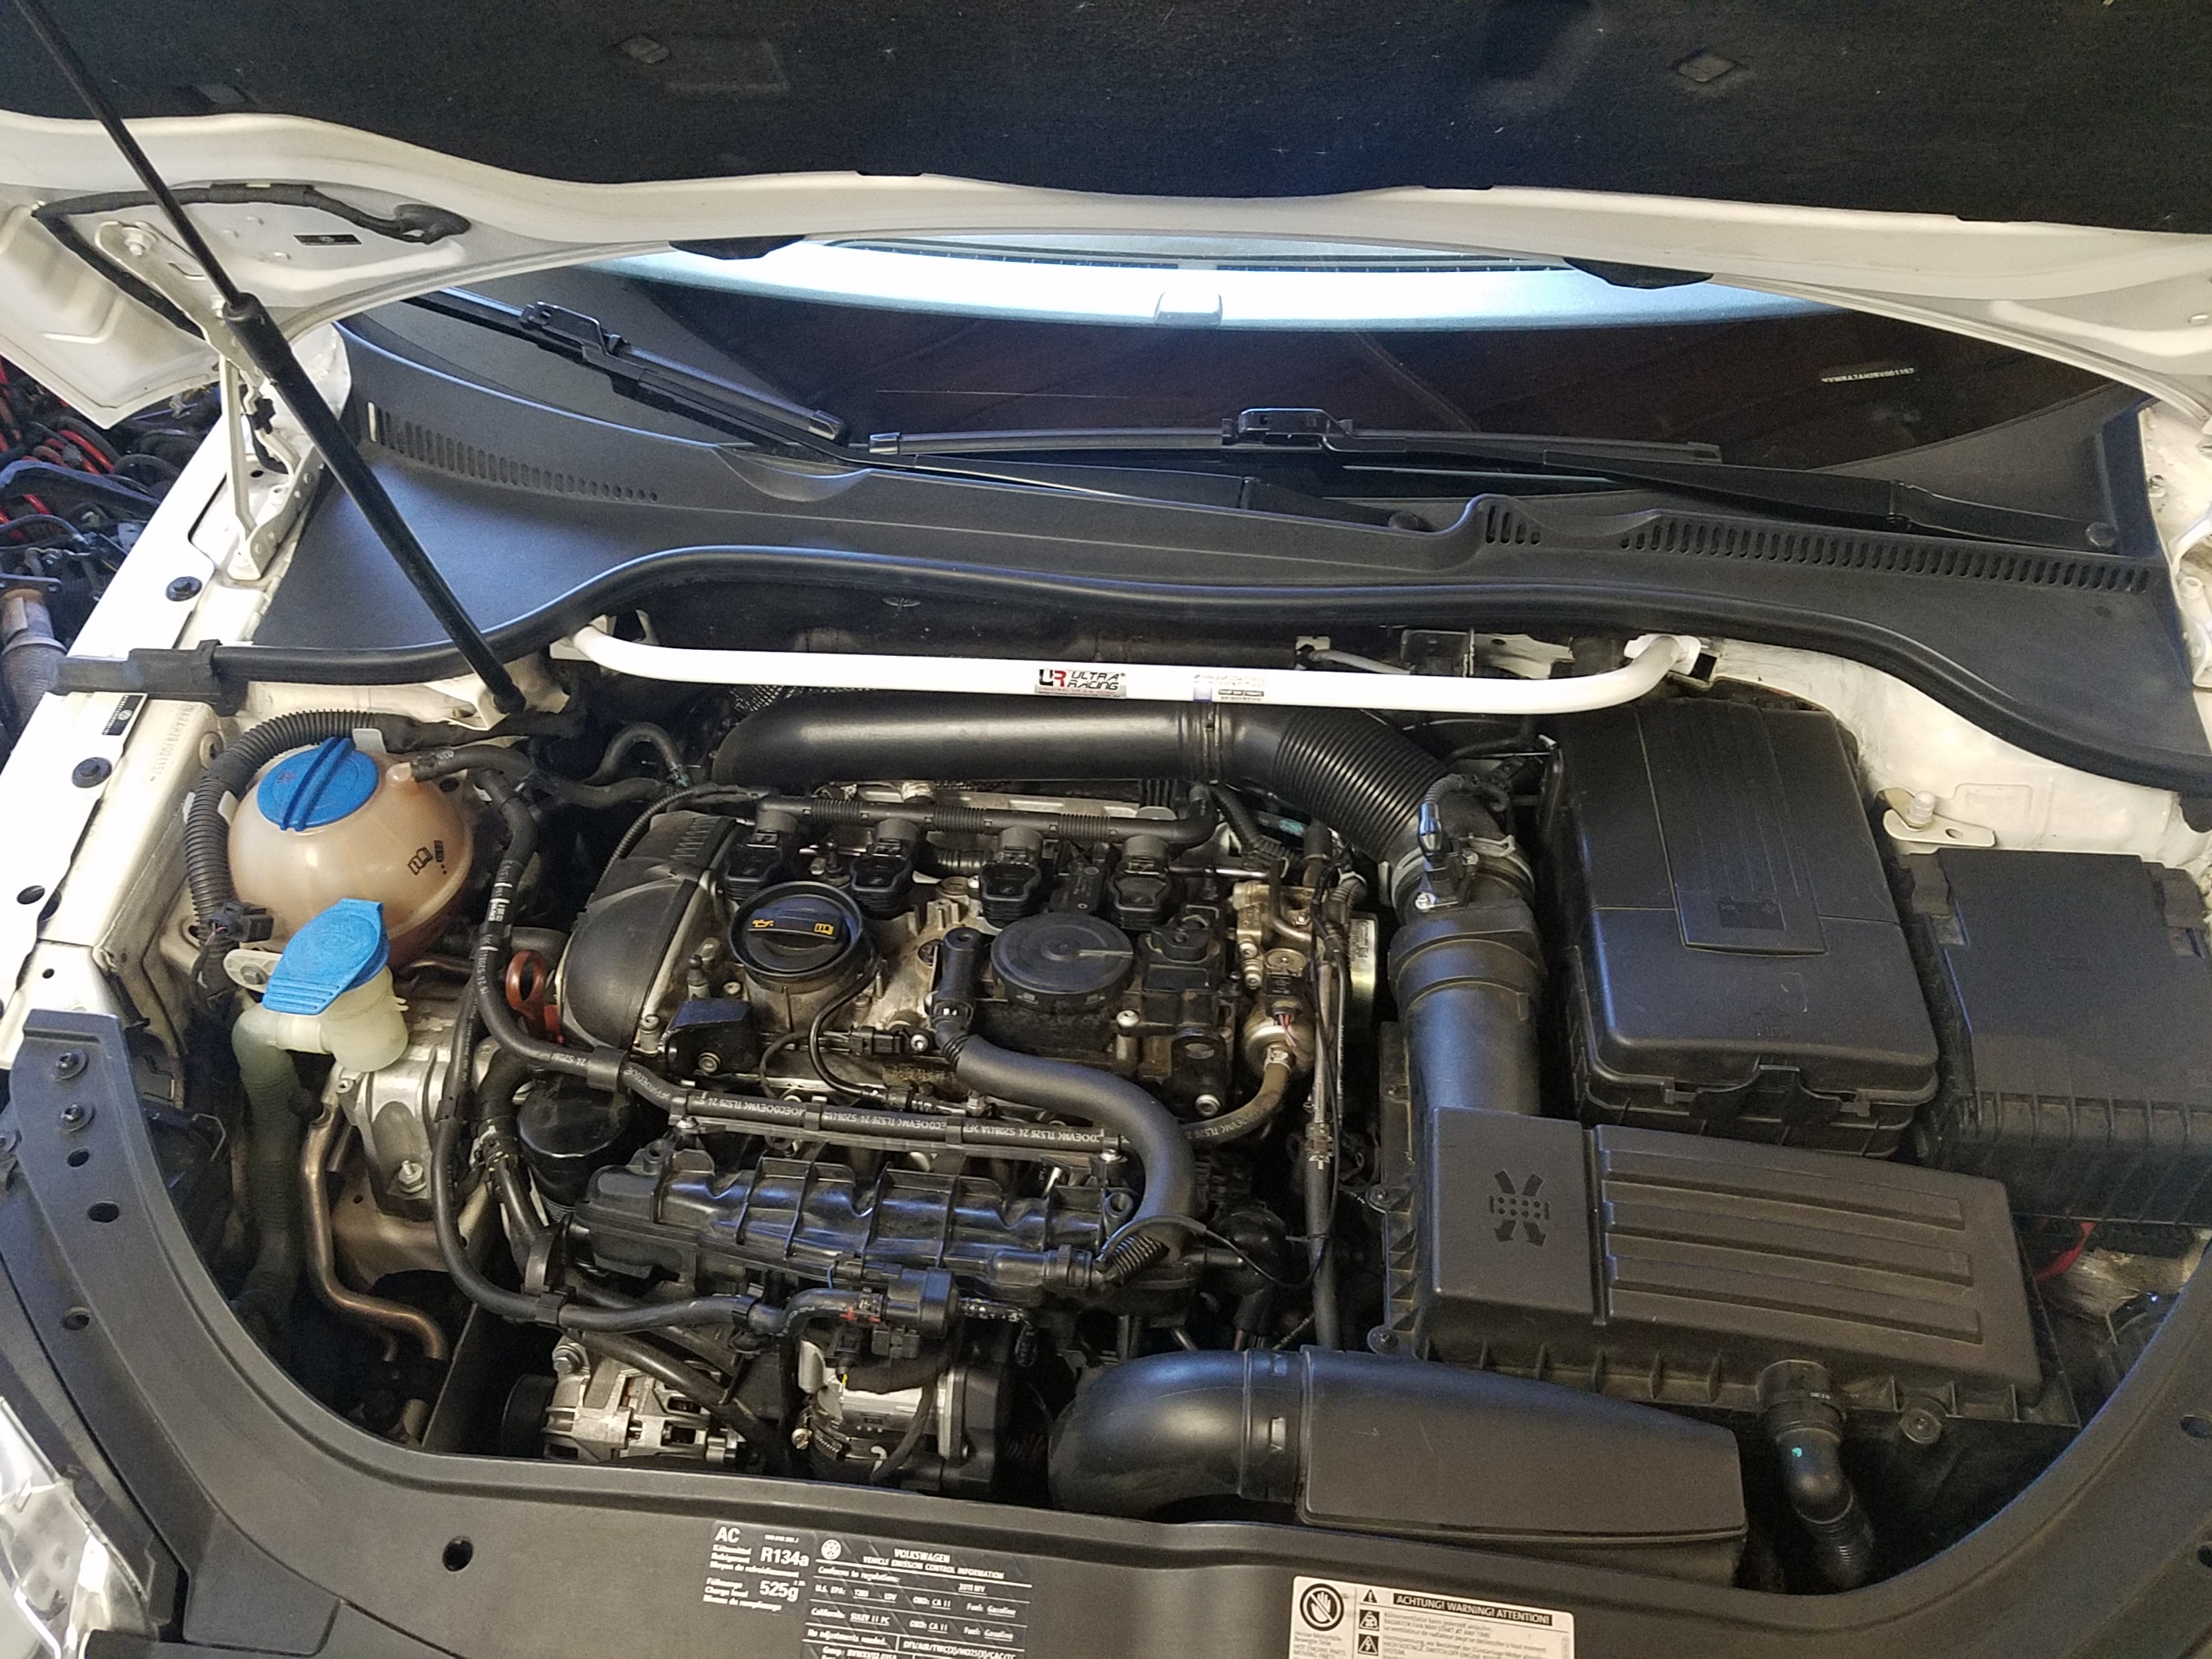
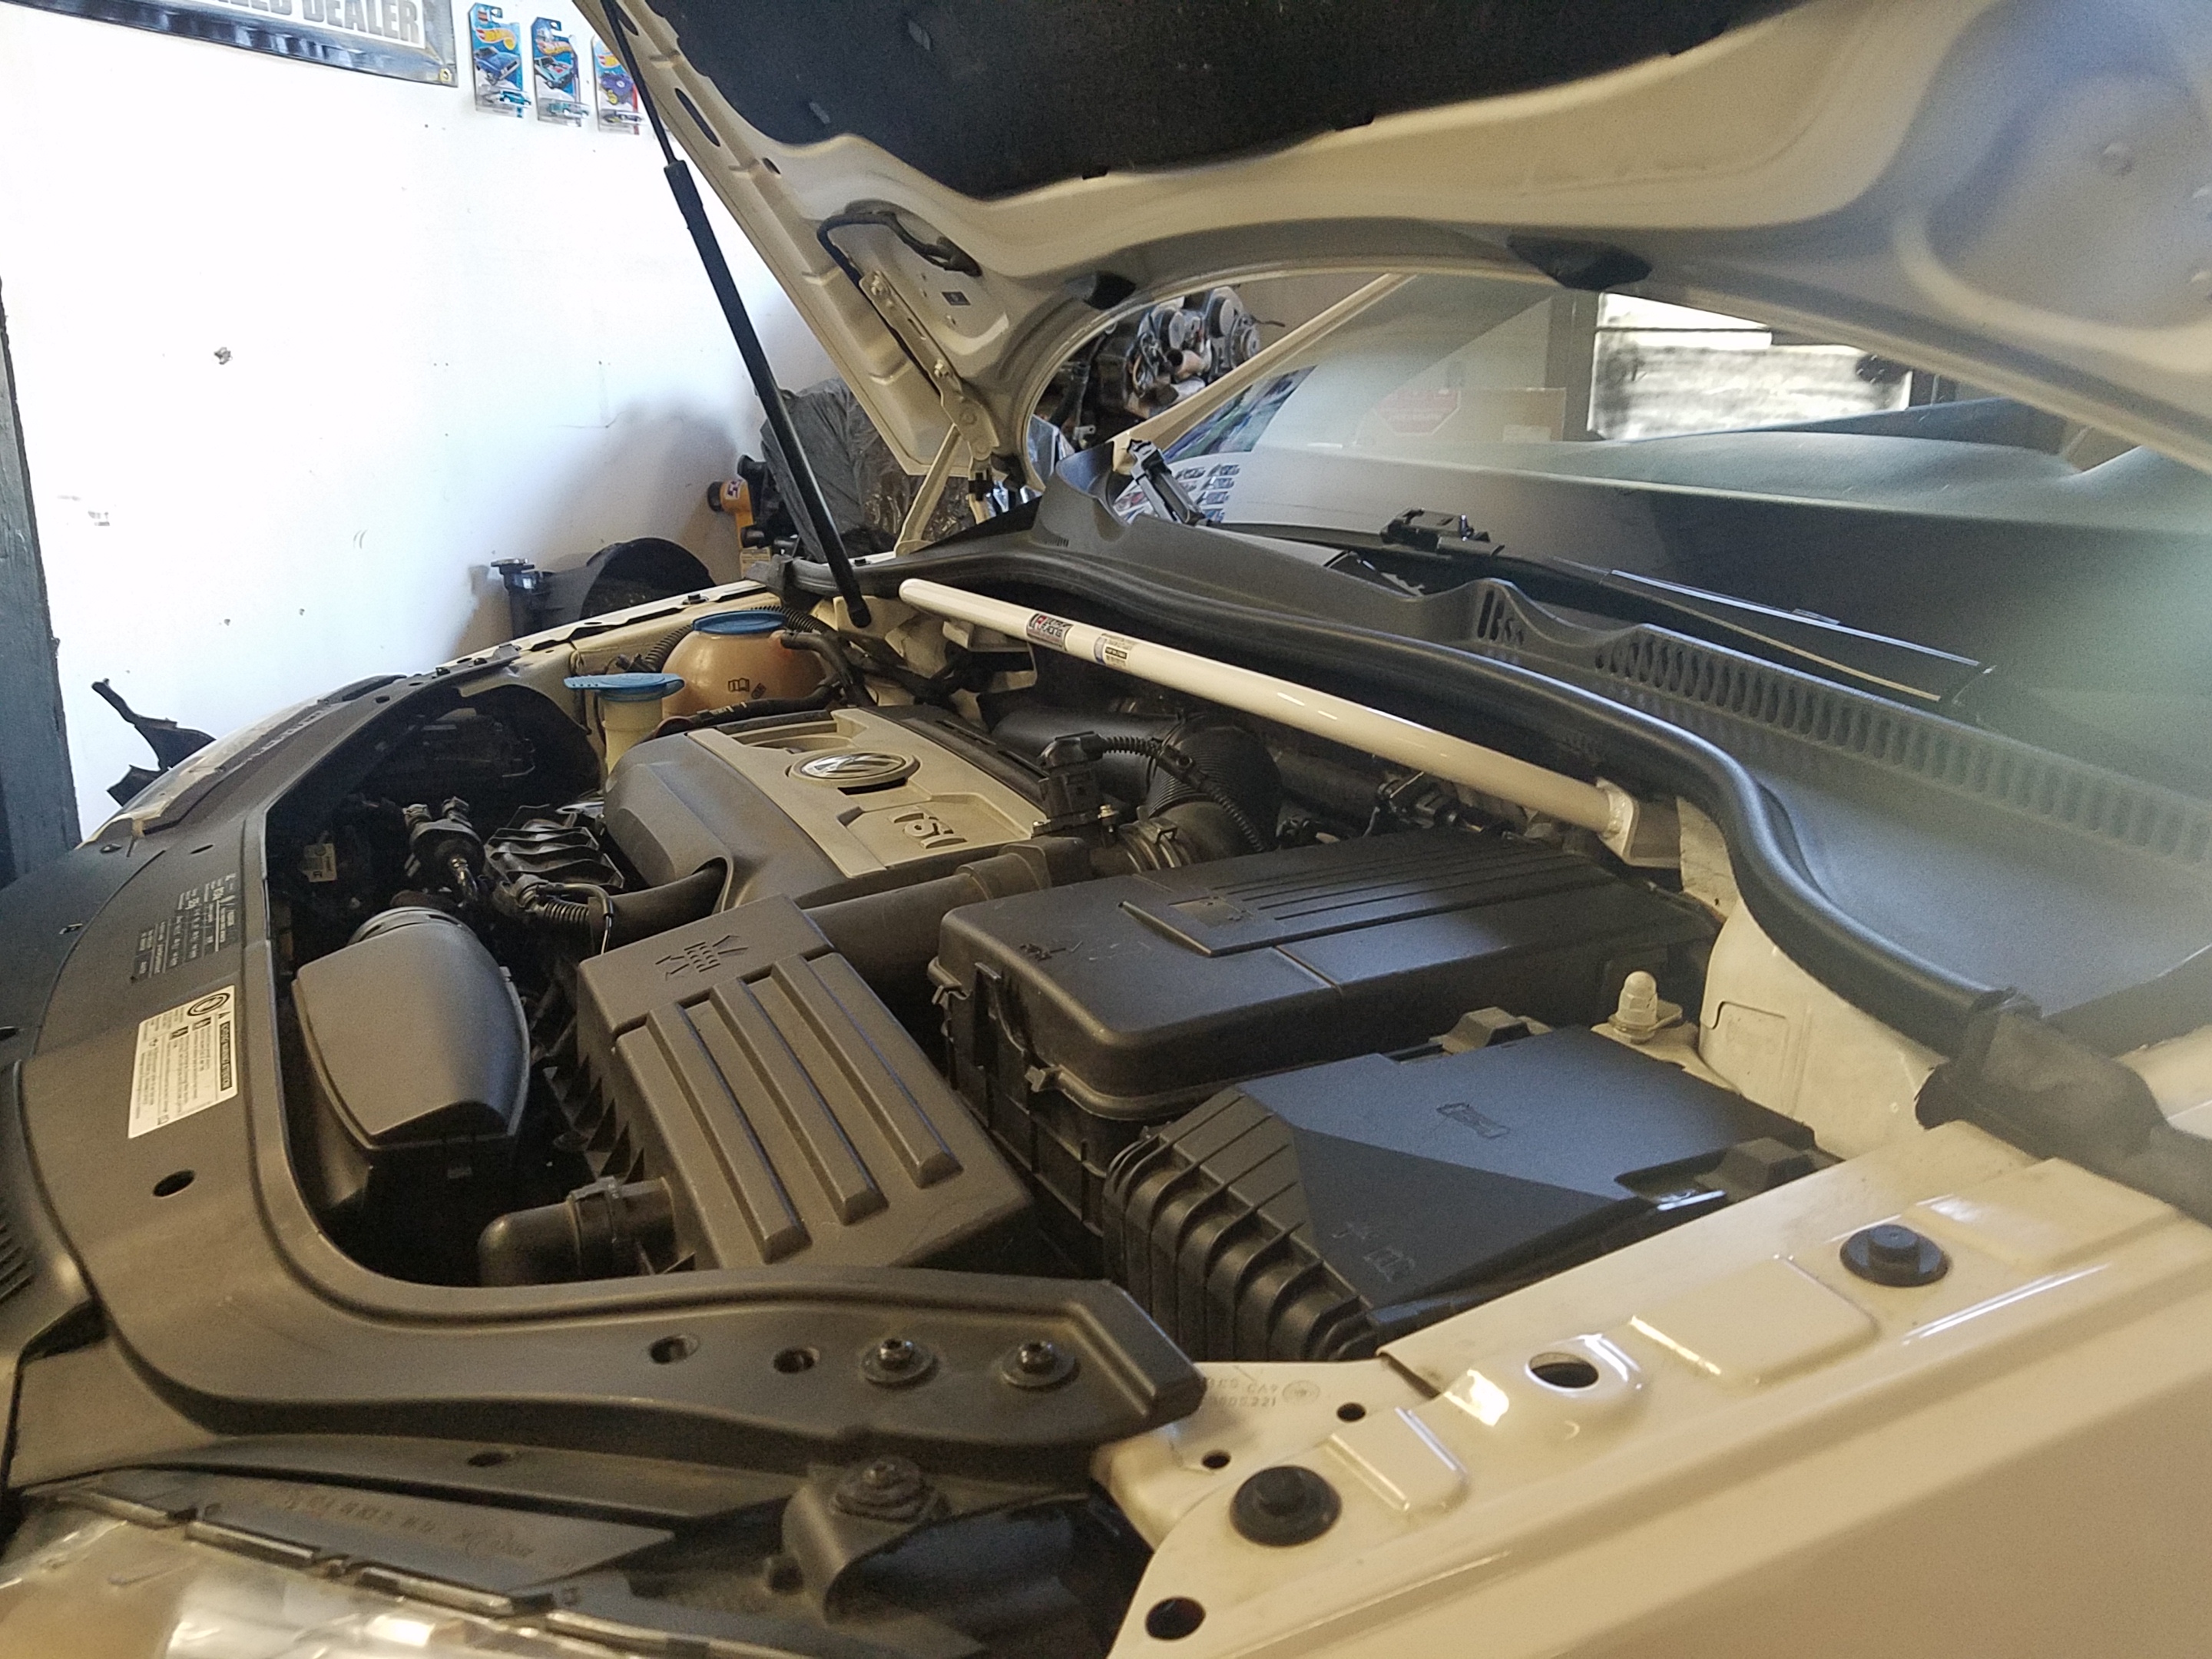
Clears the engine and the hood.
The following image where found online. We are posting it here for those who have the noise pipe and need a quick references. We recommend you consult with a shop if you are not handy with this.
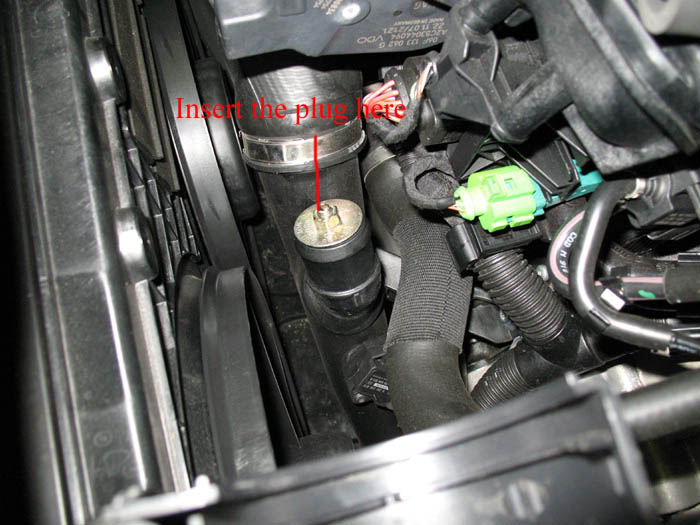
ECS Tuning has a Noise Pipe Delete kit available.
Creative ways to cap the pipes, this user purchase the hardware from a local hardware store (Home Depot)
We hope this will help answer many of the question about the UR MK5-MK6 strut brace.